
Here is Part 2 of my tutorial for 1790s painted shoes! At the end of Part 1, I had just discovered that the Angelus Satin Leather finisher had turned my 18th century shoes into patent plastic disco balls. At this point I shoved them into a cupboard and went out to find the matte version of the leather finisher. Unfortunately, there are a lot of companies that won’t ship to Chile, and Angelus is one of them. Eventually I found a seller on Chile’s Mercado Libre who had a crate of it, and for an absolutely extortionate price, I paid to have a single bottle shipped from Santiago to Iquique. It was a period of very impatient waiting – the shoes were lighting up the inside of my closet like a supernova.

The day the matte finisher arrived, I wiped the shoes carefully for dust bunnies, applied a layer of matte glaze and put them under a tipped over tupperware crate to dry. And then I did it two more times.
The glaze was dimmed – not shut down, but dimmed. The shoes were still bright and shiny, but it was the shiny that a really diligent shoe polisher could achieve with wax and elbow grease- not a modern space age plastic shine.
Step 6: Trimming the Shoes
I trimmed my yellow 1790s shoes with pink petersham ribbon. I had two widths of it – 5/8″ inches to be doubled over around the shoe opening and 3/8″ inches to mark the center back and side seams. The ribbon was glued on with Fabri-tac glue.
If you haven’t used it before, you need to know this straight up – Fabri-tac is the devil. It sets almost instantaneously, but it comes out in gobs so it needs to be spread, and that is an awful combination. I found the best method to be running a bead of glue along the shoe, then spreading it out with a finger or a palette knife, then running over it a second time to remove any remaining globs that could soak through the ribbon, and THEN pressing the fabric onto the glue line.
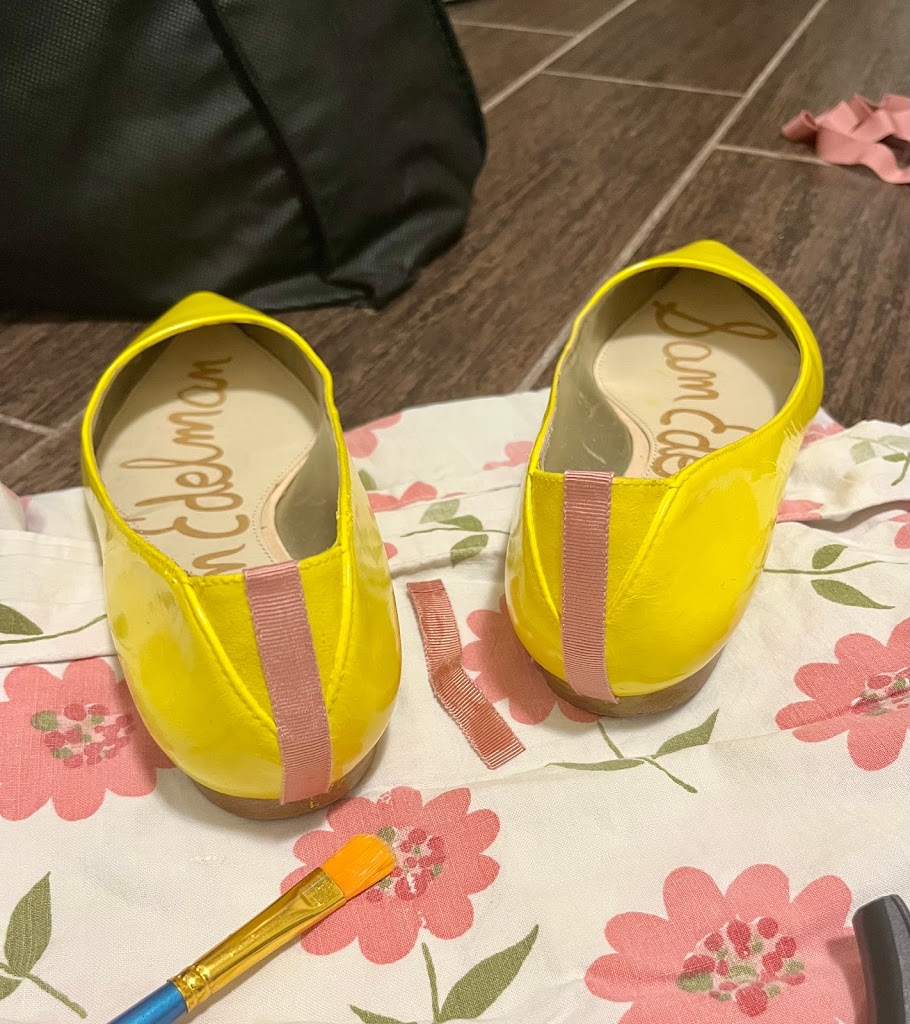
Beginning with the short back and side seams, I turned the raw edge of the 3/8″ ribbon under, tacked it in place with a dab of glue, and then glued the strip in place, folding the top edge over the lip of the shoe and holding that down with a large glob.
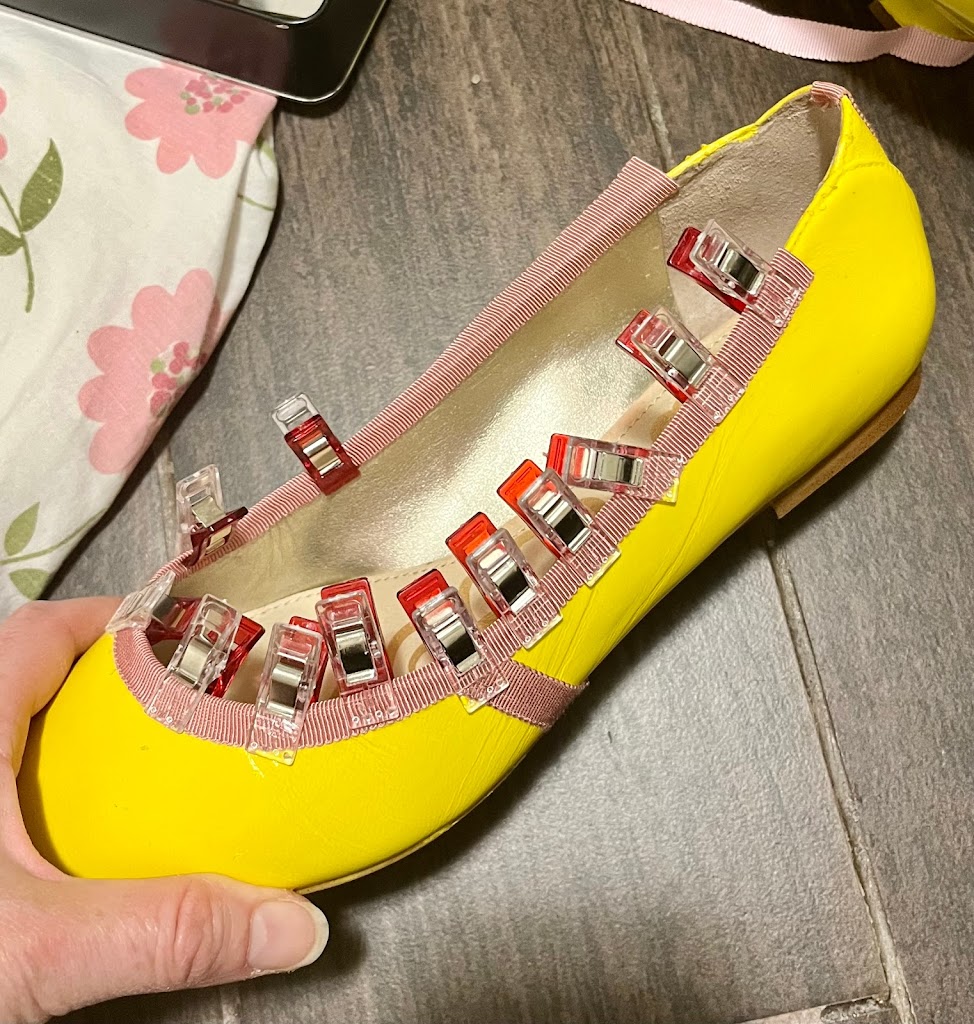
Next I bound the open edge with the 5/8″ ribbon. Working in short sections, I glued the ribbon to the inside of the lip. Once it was in place, and working again in sections, I folded the ribbon over to the outside and glued it down, again working in small sections, and pressing it down with sewing clips.
Note: the wierd wrinkling on the side of the shoe is an artifact of the not-particularly-high-quality leather. It’s not a problem of the paint or glaze.
I had some difficulty laying the ribbon around the heel. The suede panel on the heel became very stiff when painted, and I wasn’t able to flatten out the curve enough to successfully lay the ribbon from the inside. It turned out to be easiest to run a second piece over the back of the heel, working outside-in.
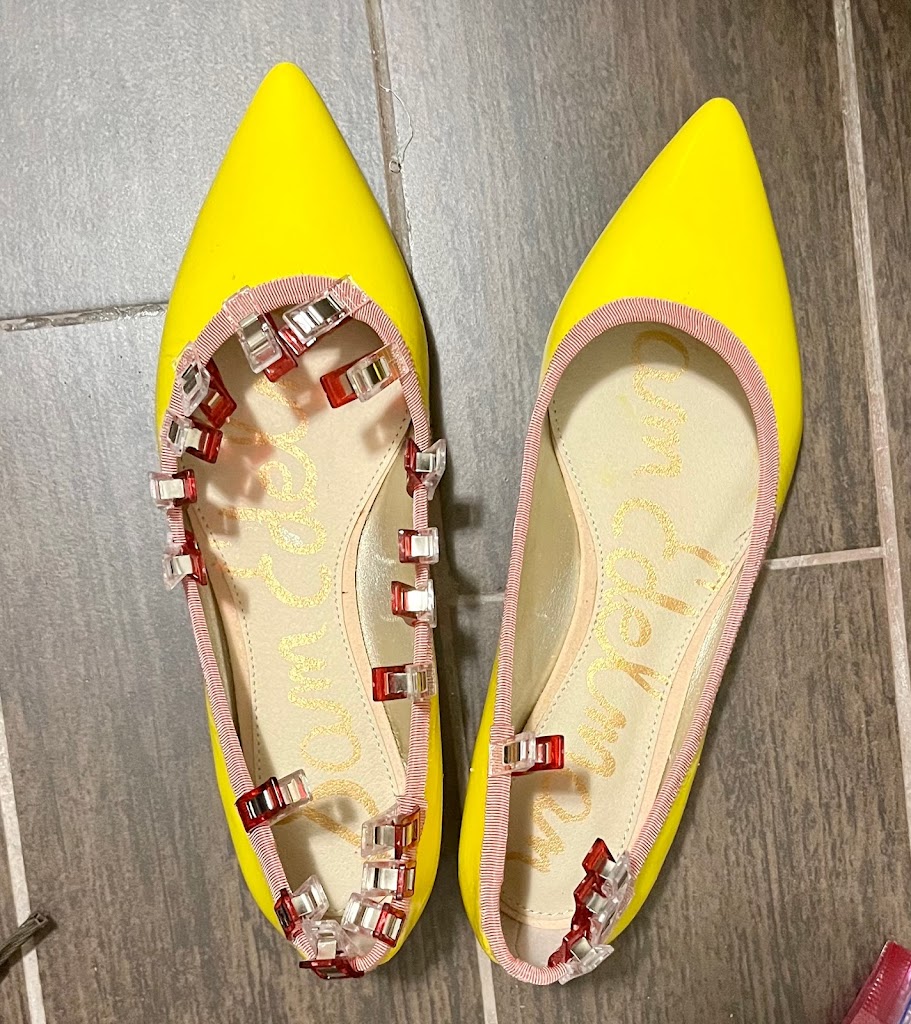
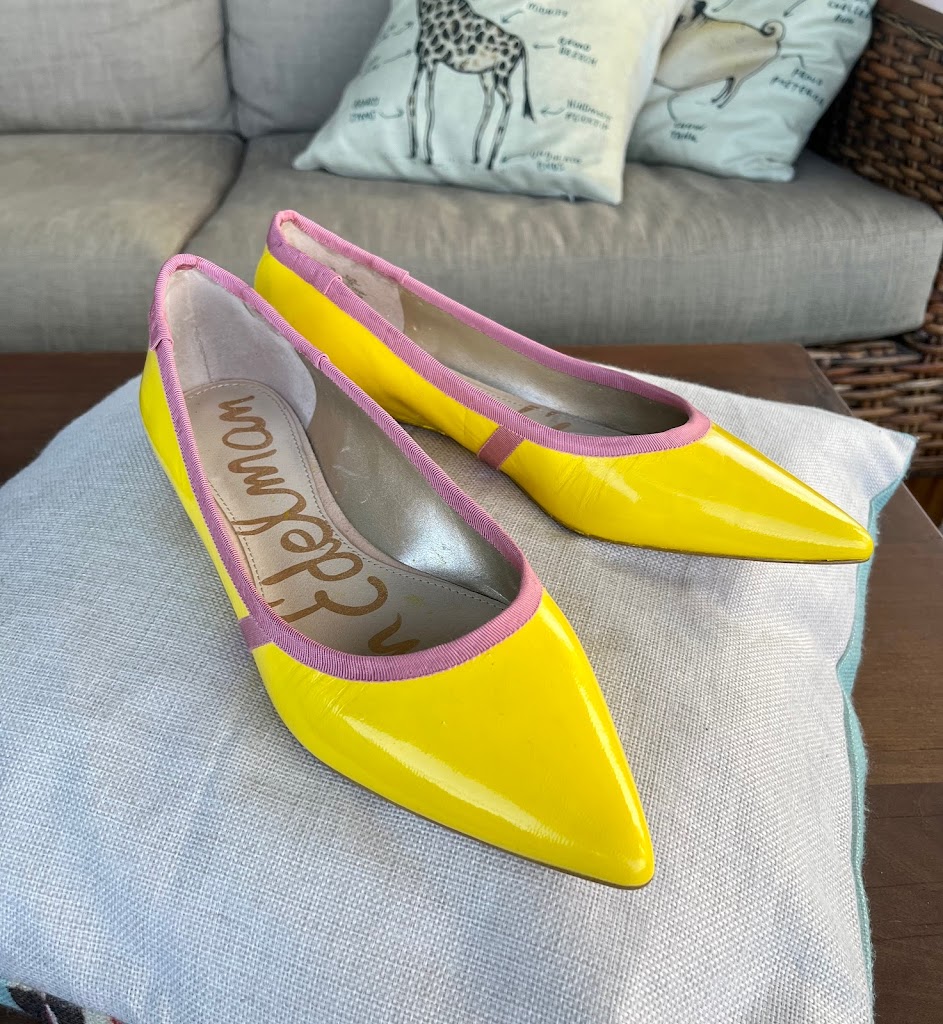
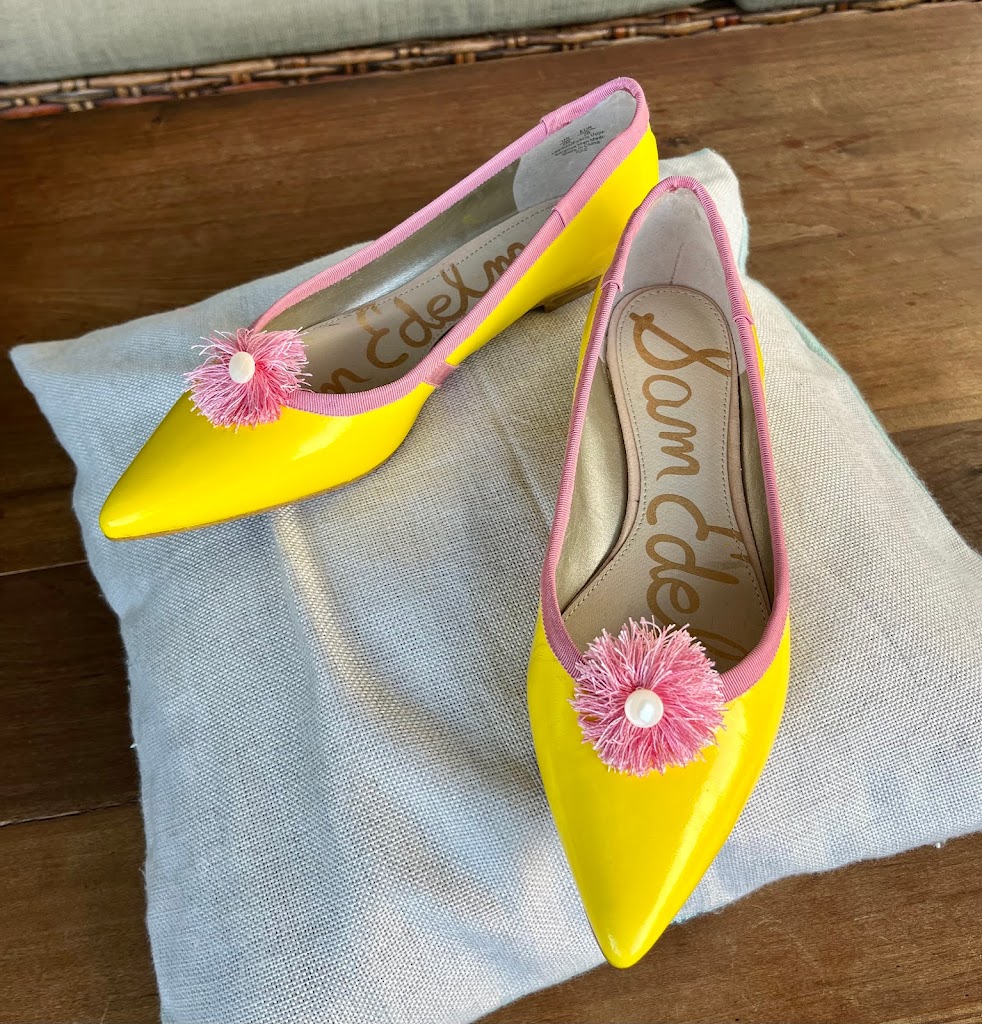
But voila – there they were. My fingers were a mess of glue blobs and ribbonny shreds, but the shoes were a POEM in pink and yellow, ready for field tests.
Or almost – I wanted pompoms on the toes. I largely followed Frolicking Frocks’ tutorial for this. I made four pompoms out of silk embroidery floss, tied them off in the center, and layered them on a pair of shoe clip blanks: two pompoms per blank, stacked cross-ways. Once they were stitched tight, I cut the loops and trimmed the shaggy edges.
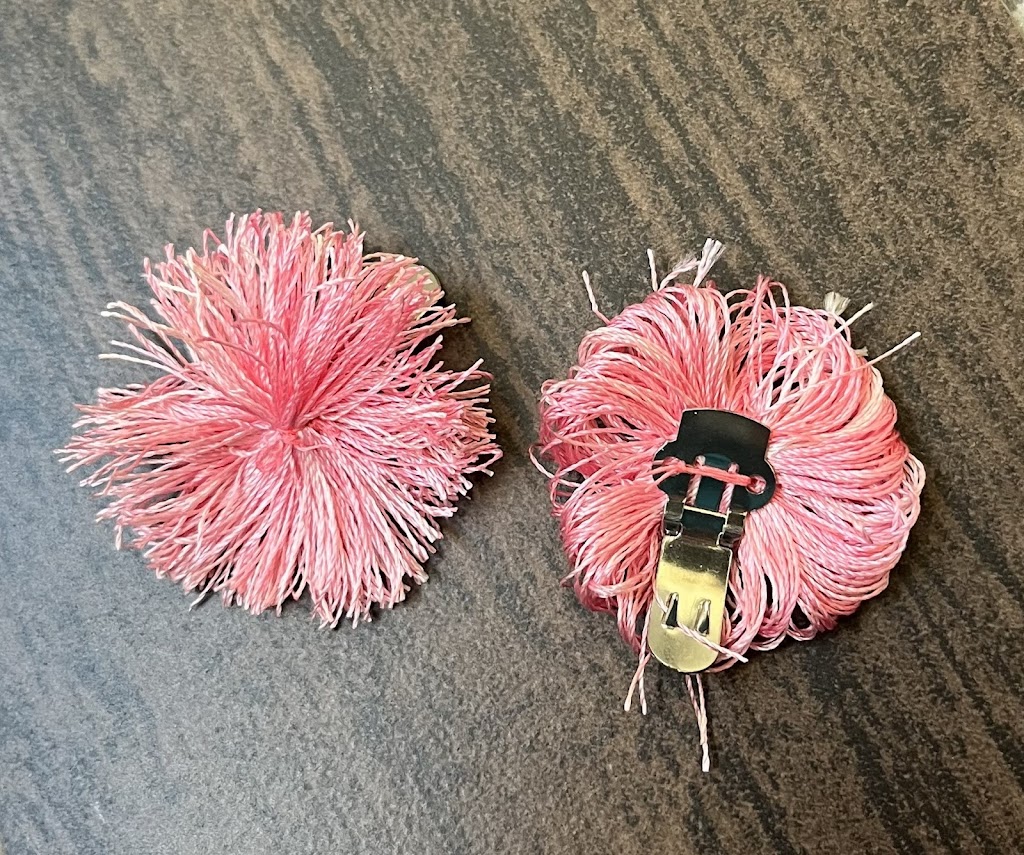
In my button box I found a pair of small mother of pearl shank buttons, so I stitched them onto the centers of the pom poms.

And – again, Voila! These lovely little things have gone from cotton-candy sweet to bleeding ADORABLE.
This concludes Part 2 of my tutorial for 1790s painted shoes!