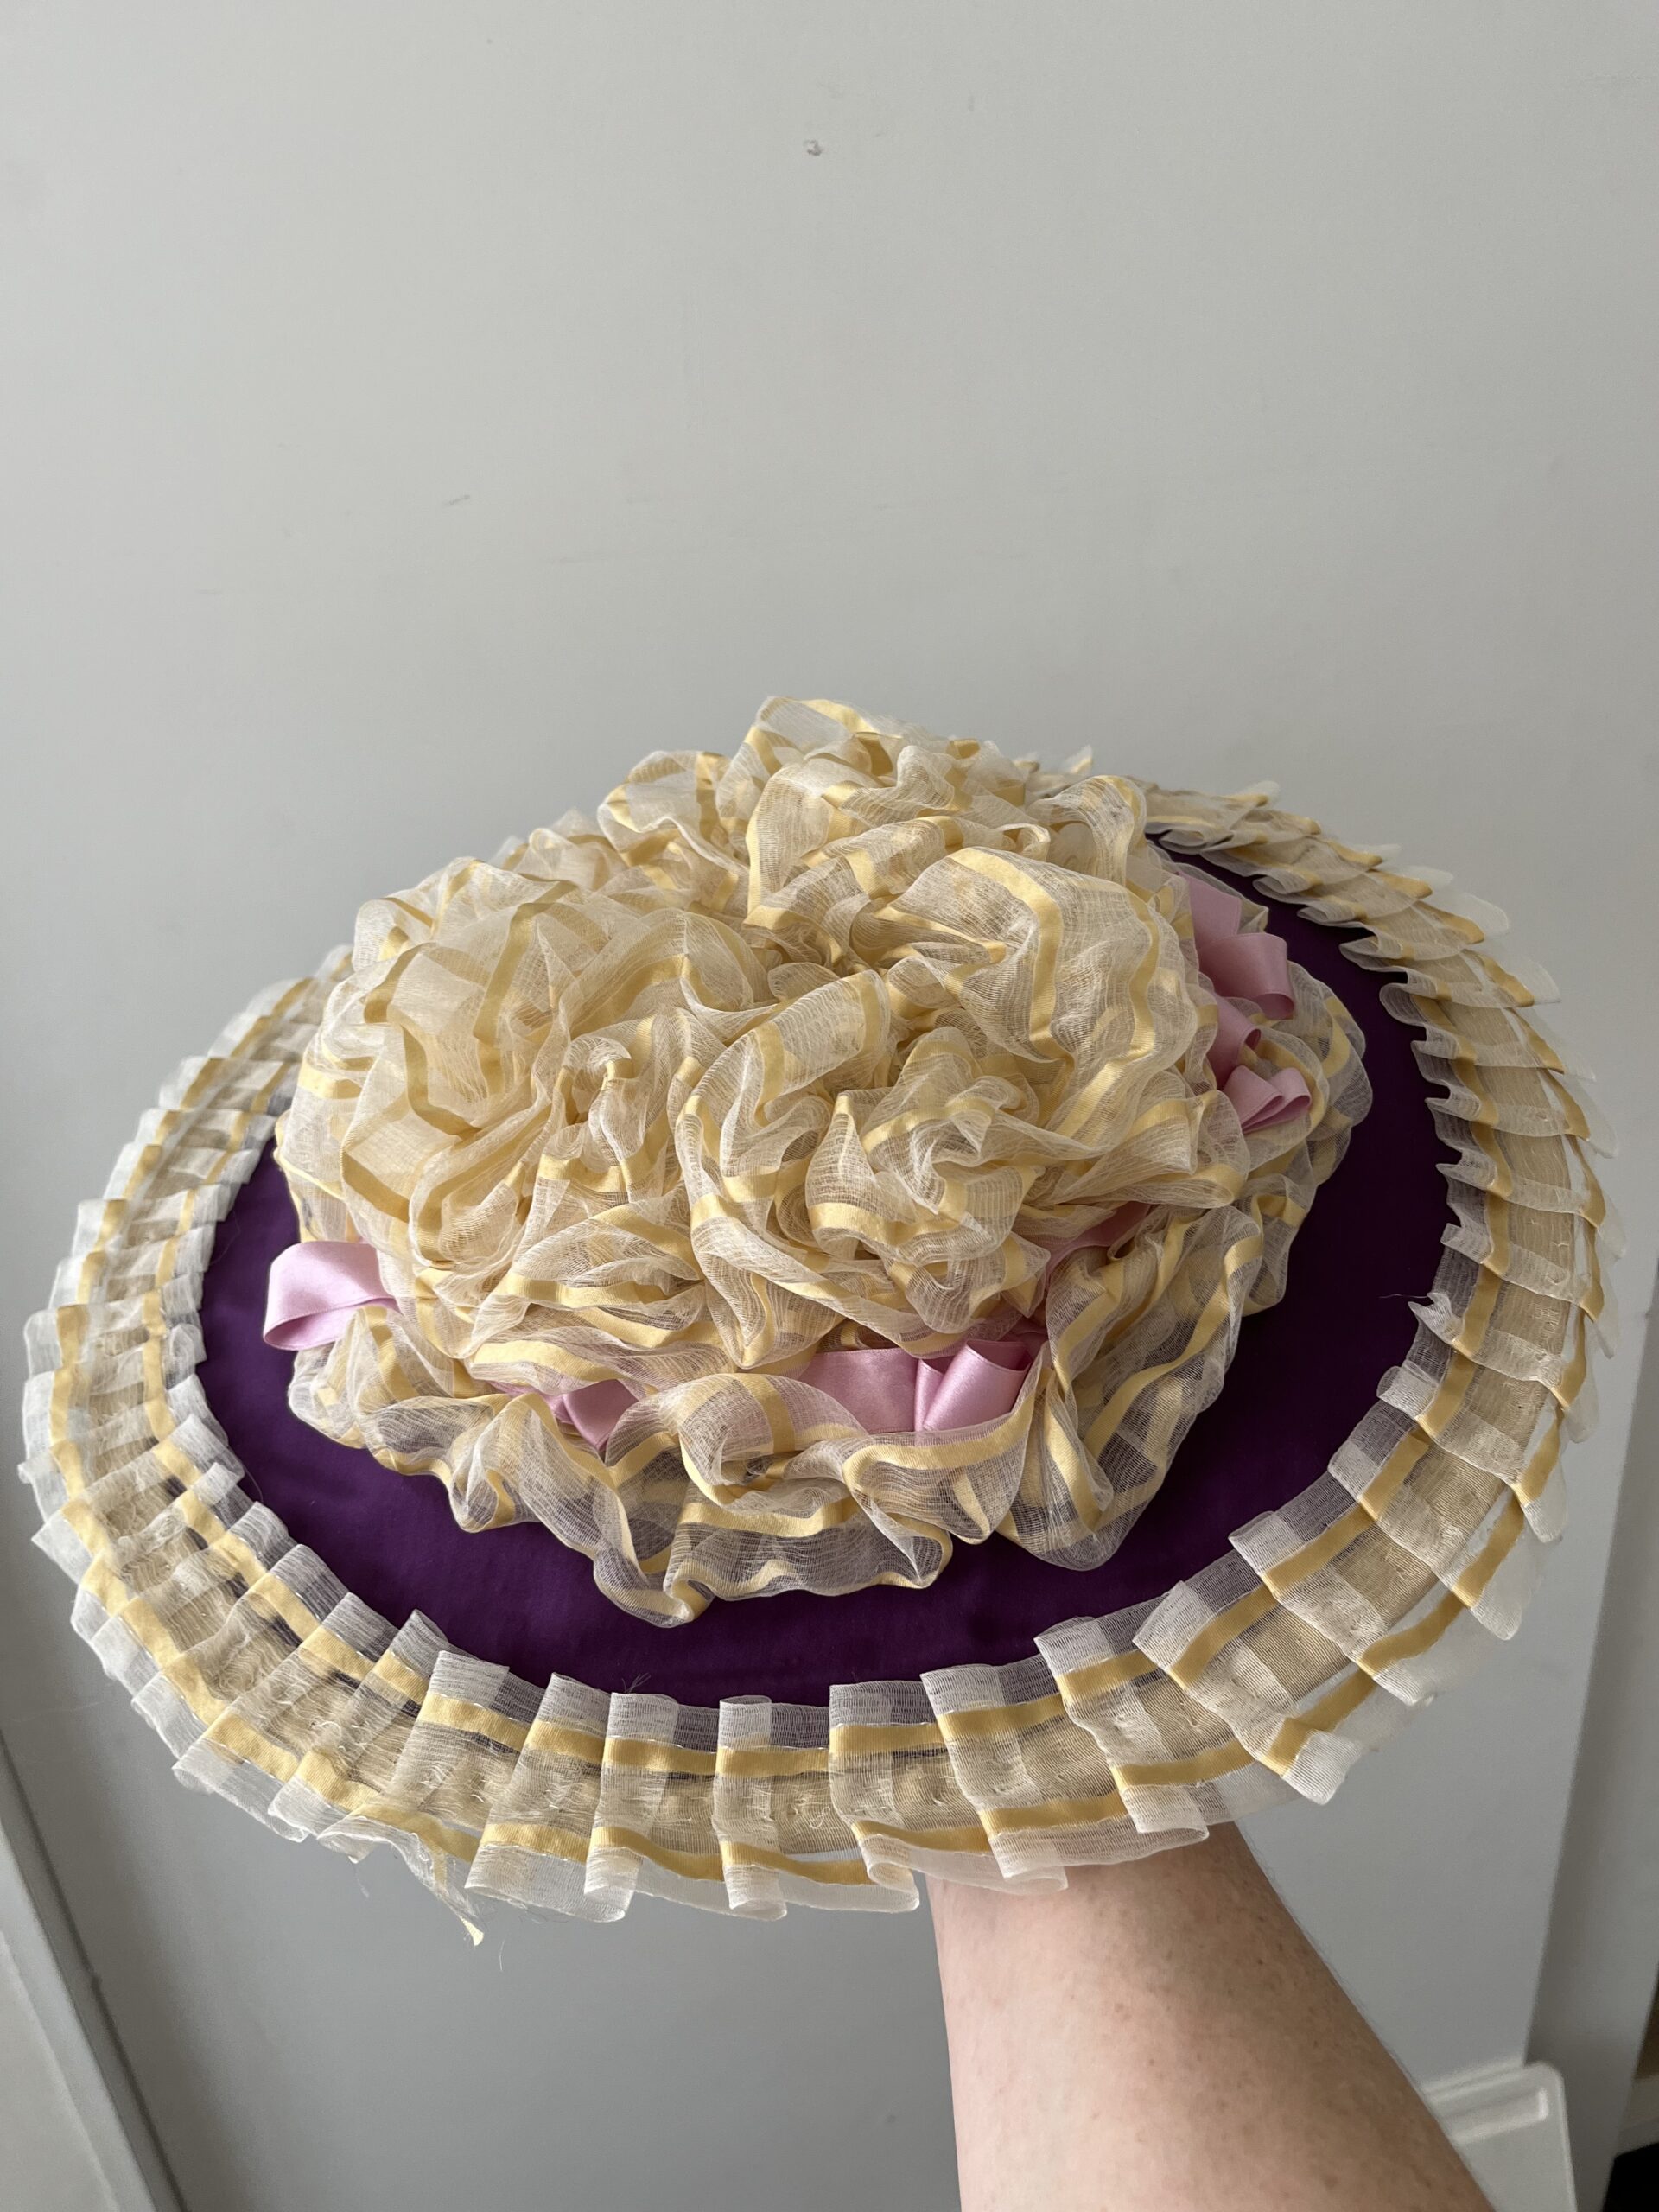
I’ve previously written a tutorial for a simple trimmed bergere hat. This one’s going to be a bergere with loops and puffs of silk gauze all over the crown, a la the 18th Century Brain Hat from the American Duchess Guide to 18th Century Dressmaking.
Or, as I like to call it – a jellyfish explosion in a boudoir factory.
Frankly, the best source i know for covering straw hat blanks is this fantastic tutorial by Cozy Kitty. I cover my crowns (both inside and out) differently than she does, but for an excellent primer on the entire subject – go and read her post!
To make this brain hat, I traced the shape of the hat brim onto purple silk taffeta, leaving about an inch of seam allowance at the edges. I roughly cut a hole for the crown, then stitched the silk down along the outer edge of the brim, smoothing and folding the seam allowance over to the underside of the hat. After that, I sewed the silk to the inner edge of the brim, tight against the crown of the hat.
Next, I covered the crown with a square of purple silk taffeta, smoothed and pinned my way around and over the edge of the crown.

I stitched the silk down tightly against the base of the crown and cut away the excess. Because the hat will be covered in billows of silk gauze, you don’t need to make a clean finish here. You won’t see it.

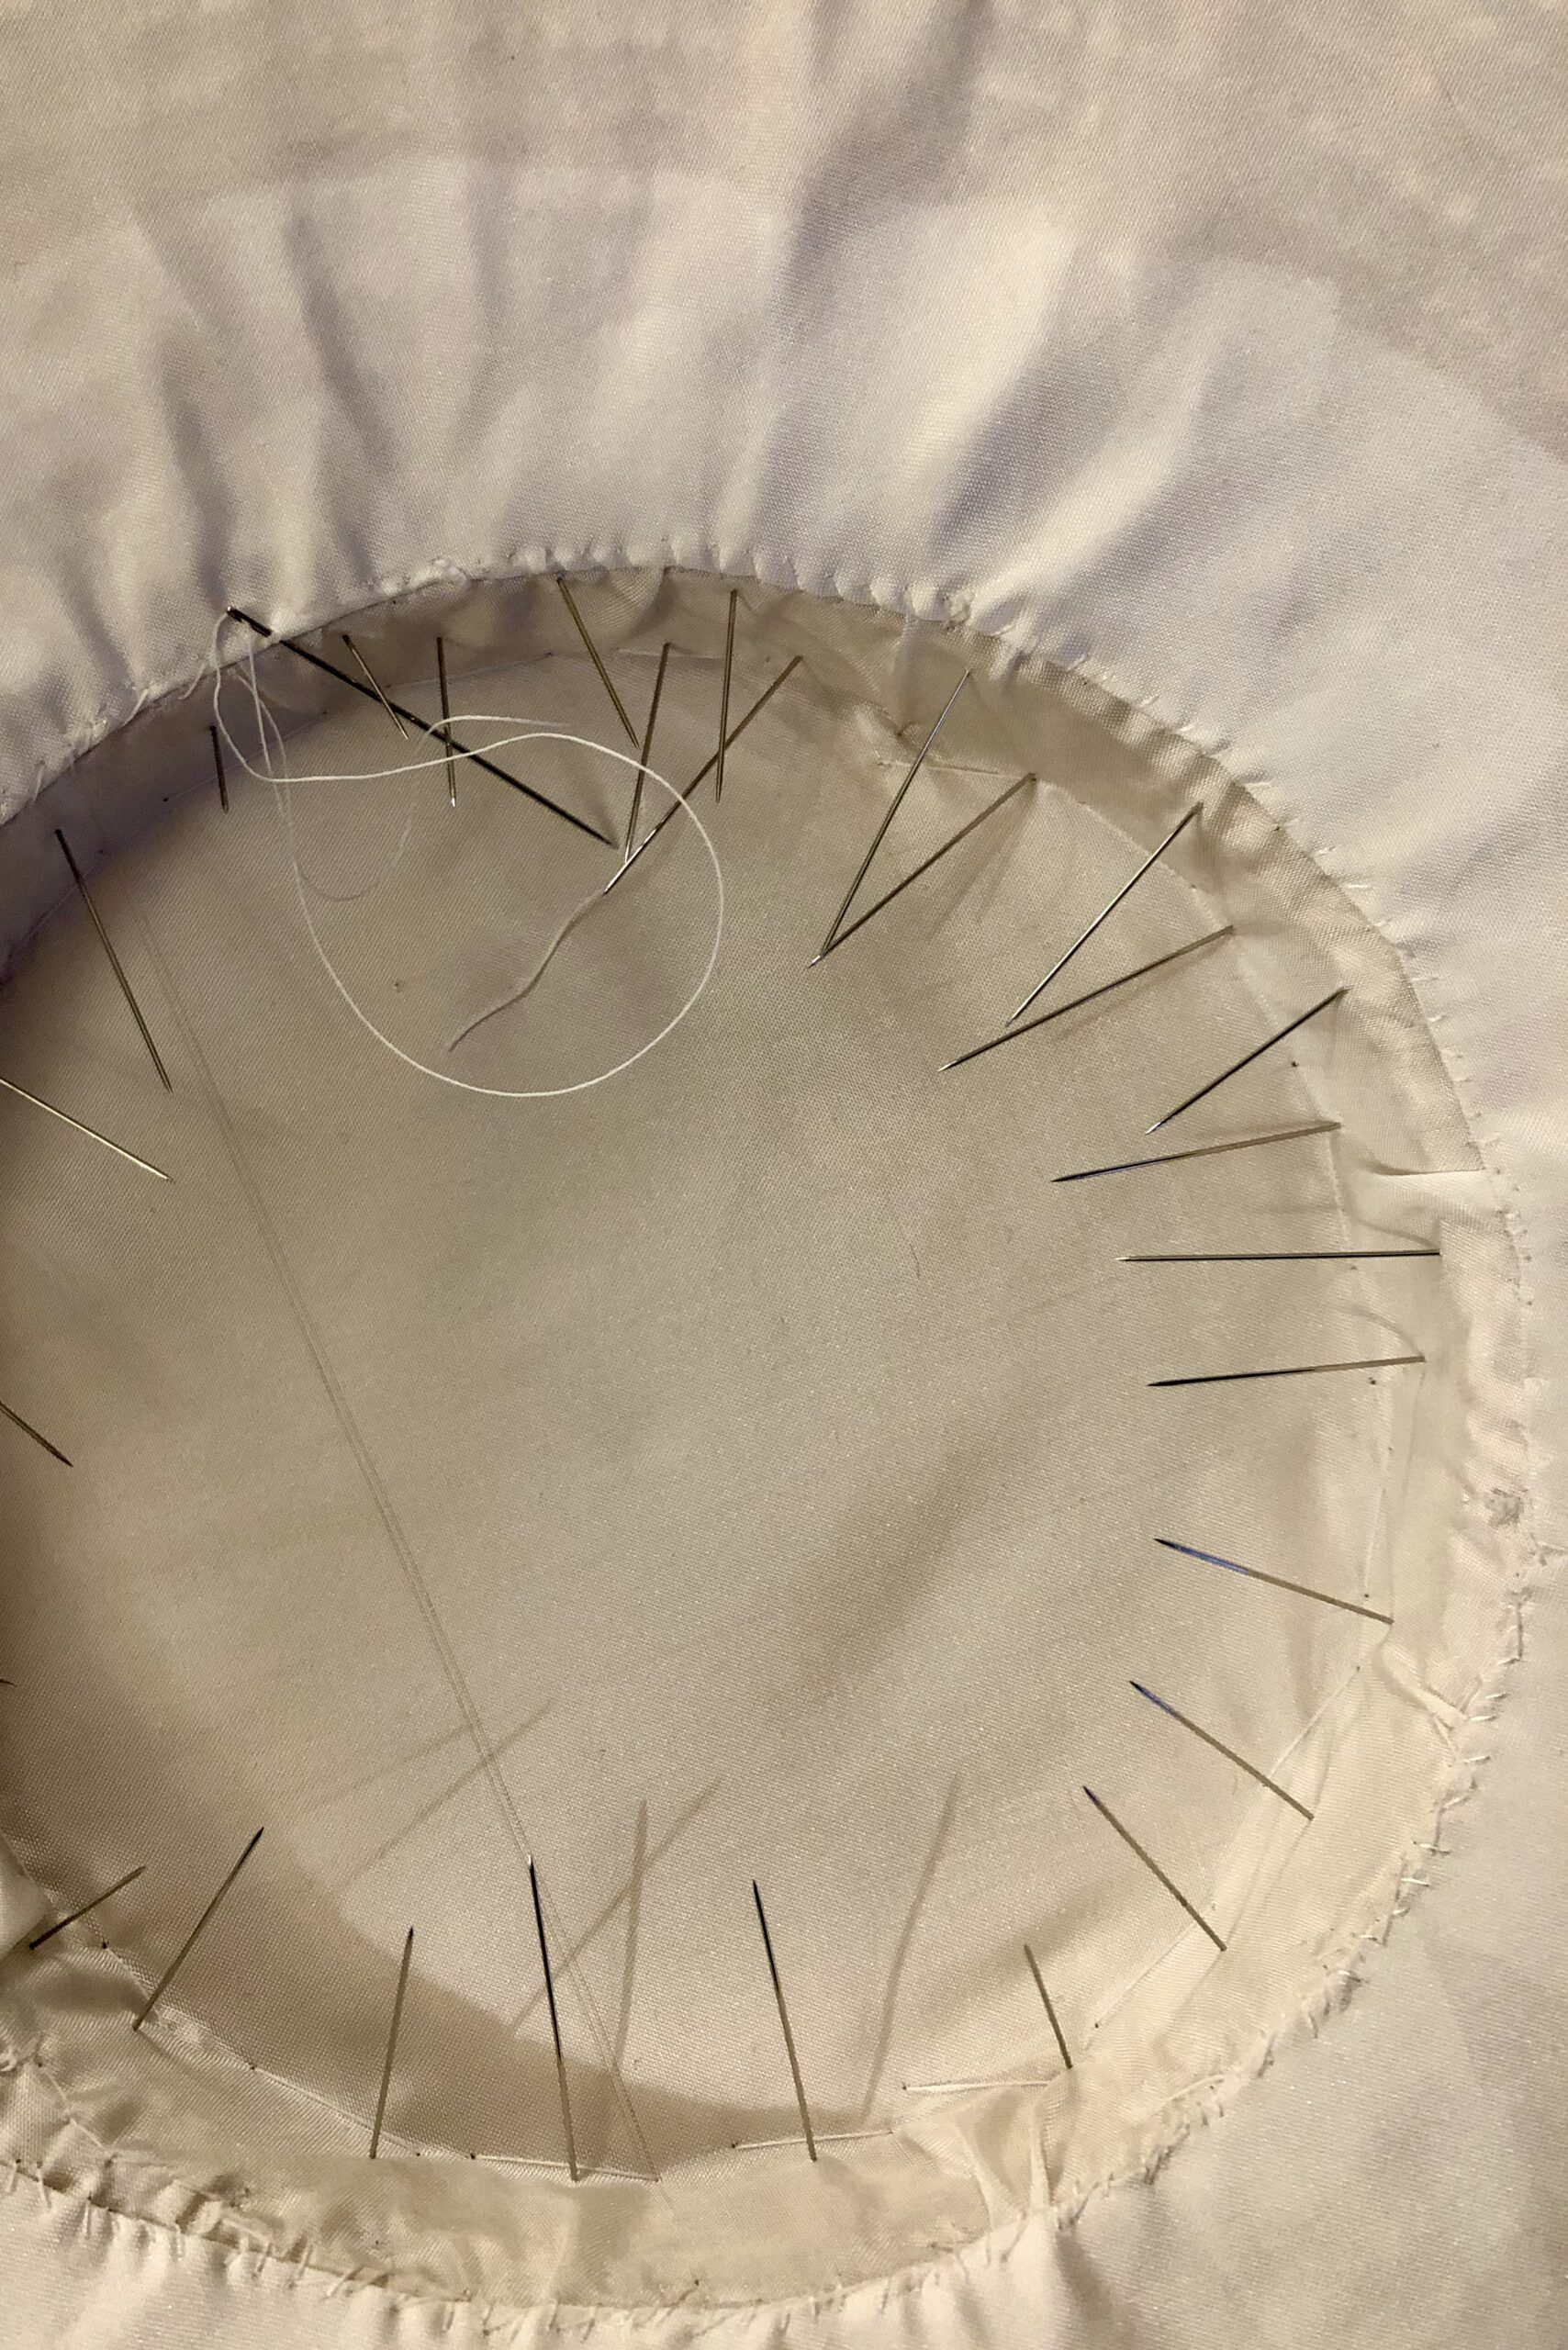
Next, I covered the underside of the hat. I’ve described how I line the underside of a hat brim in a previous post here. The procedure is the same – except that in this case when you bind the brim you can either use the silk you used for the top side of the hat, or you can choose a ribbon to match or contrast with your color scheme.
Important PSA: The thing about lining hats is – lining hats is a spiky process. Keep your bandaids handy and brace yourself. You WILL get stabbed.

Once the hat was lined, I had to trim it. On this hat, unfortunate fabric choices ran me into technical difficulties almost straight away. I’d purchased a gold striped silk gauze from a highly-regarded retailer, but this particular gauze turned out be woven from a stiff, coarse thread with a loose open weave and the raw edges of this fabric didn’t just fray – they splintered, shattering open when I cut the fabric, or picked it up, or touched it, or, I swear, just looked at it sideways from underneath my eyelashes. Commercial fray-check products didn’t help at all -the threads of the weave were so far apart that it was like dabbing glue onto the bristle ends of a broom.
Sewing the stuff was equally horrible – when you stitched into the fabric, the needle dragged out channels and the thread drove puckers into the cloth.
Eventually I worked out I could – carefully – press a half-inch fold without losing more than 1/4 or 3/8 of an inch of fabric to the shattering problem, and I could – carefully – hold it in place with a very loose running stitch. So I loosely hemmed a long strip for a ruffle and hoped a lot.

For the crown puffs, I hoped that dolloping on a pile of the stuff would hide the fraying edges beneath the puddle, and despite the looseness of the weave, i was half-way sure that the gauze was so crisp that it would stand up in lovely crisp folds!
And it did. Unfortunately, there was another problem. The weave of that damn gauze was so loose that my pinheads were sliding through – even my largest-headed clover quilting pins were passing through like hot steel through hot butter, and pretty soon I had a high balloon of gauze with pins stuck to a straw shell underneath it, and, of course, working a big-headed pin back out wasn’t half as effortless as watching it slight right through!
At this point I felt committed beyond point of return (No arguments about the economy of sunk costs, please. This far into it I’d ceased to be a rational actor in any way, form or shape) – so I pinned and I stitched and I pinned and I stitched, and wherever the stitching really wouldn’t hold, I stuck a pink bow to cover the mess –

and then because I didn’t want to look at that horrible gauze anymore I abandoned the ruffle and bound the hat in a gold satin ribbon – and when I sat up to take a breath, this 18th Century brain hat looked GOOD.

And you’d think that would be the end of it, wouldn’t you?
I went away and did something else for a day or two, and felt pretty good about the whole thing, but then I came back to the hat to stitch a pair of ribbon ties to the underneath, and I found that the BLOODY gauze had slipped its stitching in several places and was popping up where it shouldn’t be popping, so I had to sit down again and stitch it down again, and when I looked up from my work, the stupid bloody brain was held down all right. All my big billows and puffs had been deflated into something that looked a bit like a collapsed pudding and a bit like a big gauze cowpat.
Even worse, my puffy pink bows stood out like a bouquet of sore pink thumbs. I bound the brim edge with pink ribbon layered over the gold to tie it all together, but now that hat looked like a melted Neapolitan ice-cream.
THAT was not a good moment. I walked away again for another day or two. And then I stuck that stupid wonky ruffle onto the edge of the hat so that it looked more like a deliberate sort of mess and less like a flat pudding on a purple plate –

And then I got dressed up and took a few photographs to let it know that I hadn’t been beaten. I had WON. And whenever it slips another stitch or shreds at me I can pull out those photographs, wave them at it, and it will KNOW that I did.
So here it is. An 18th Century brain hat. Amen.


2 thoughts on “An 18th Century Brain Hat: Tutorial”