I am rather into 18th Century pseudo-antiquity portraits at present – the ones from the 1760s and 1770s in which a woman wears a wide-sleeved silk sultana and there’s an entire ocean worth of gauze billows tucked in around her elbows. Last spring at a Burnley and Trowbridge workshop, I came across the sultana that B&T had used on the cover of their own sultana pattern. It was hanging on a peg and I tried it on. I wanted it. I didn’t need it, so of course I immediately went fabric shopping online, and found a piece of suitable-enough silk shantung for just over USD $20 – just enough silk for this midnight silk Sultana right here.


The Sultana is yet another variation of ye basic 18th century T-shape wrapping gown. Sultanas were the upscale variation on the style. I’ve seen them referred to as a “posing gown,” which gives you sense of what sort of leisure class was wearing them. Objects of very conspicuous consumption, sultanas were sewn from luxury materials such as cotton or silk, often edged with metallic trim or lined with fur, and, at least when one was being drawn or painted and wished to really show off one’s purchasing power, there might be several layers worn, in various grades of volume and color. *
*If you want more information on sultanas,The Two Nerdy History Girls have a good comprehensive overview here. Kozy Kitty built herself a gorgeous red sultana during the pandemic, and here is an entire page of images specifically of pink sultanas lined with fur.
Pattern:
For my midnight silk sultana, I used the B&T Sultana pattern. I made a couple of tweaks. Portrait details indicate, from seam lines or gathering at the shoulder heads, that the really voluminous sultanas have separately cut sleeves and I didn’t have the yardage for that. Moreover, while I wanted the “I have so much money and silk that I can practically float in it” look, I also didn’t want the sort of thing you couldn’t wear without bringing a whole haberdasher’s warehouse tumbling down with you when it finally tripped you up!
In practice, this translated to “make the sleeves slightly bigger on a gown that wraps further across my front than the pattern currently allows for.” Also, I also have quite a long torso, so I added an extra inch and a half to the bodice at the pattern mark.
(Important Pattern Alternation Note: Silk is expensive. Thrifted sheets are not. Before cutting my silk, I cut a hip-length tester version of the gown – checking both the extra torso length and the extra width. Even on a quick-and-easy project, an extra hour trying things out can save you a great deal of expensive disappointment later down the line.)
Cutting:
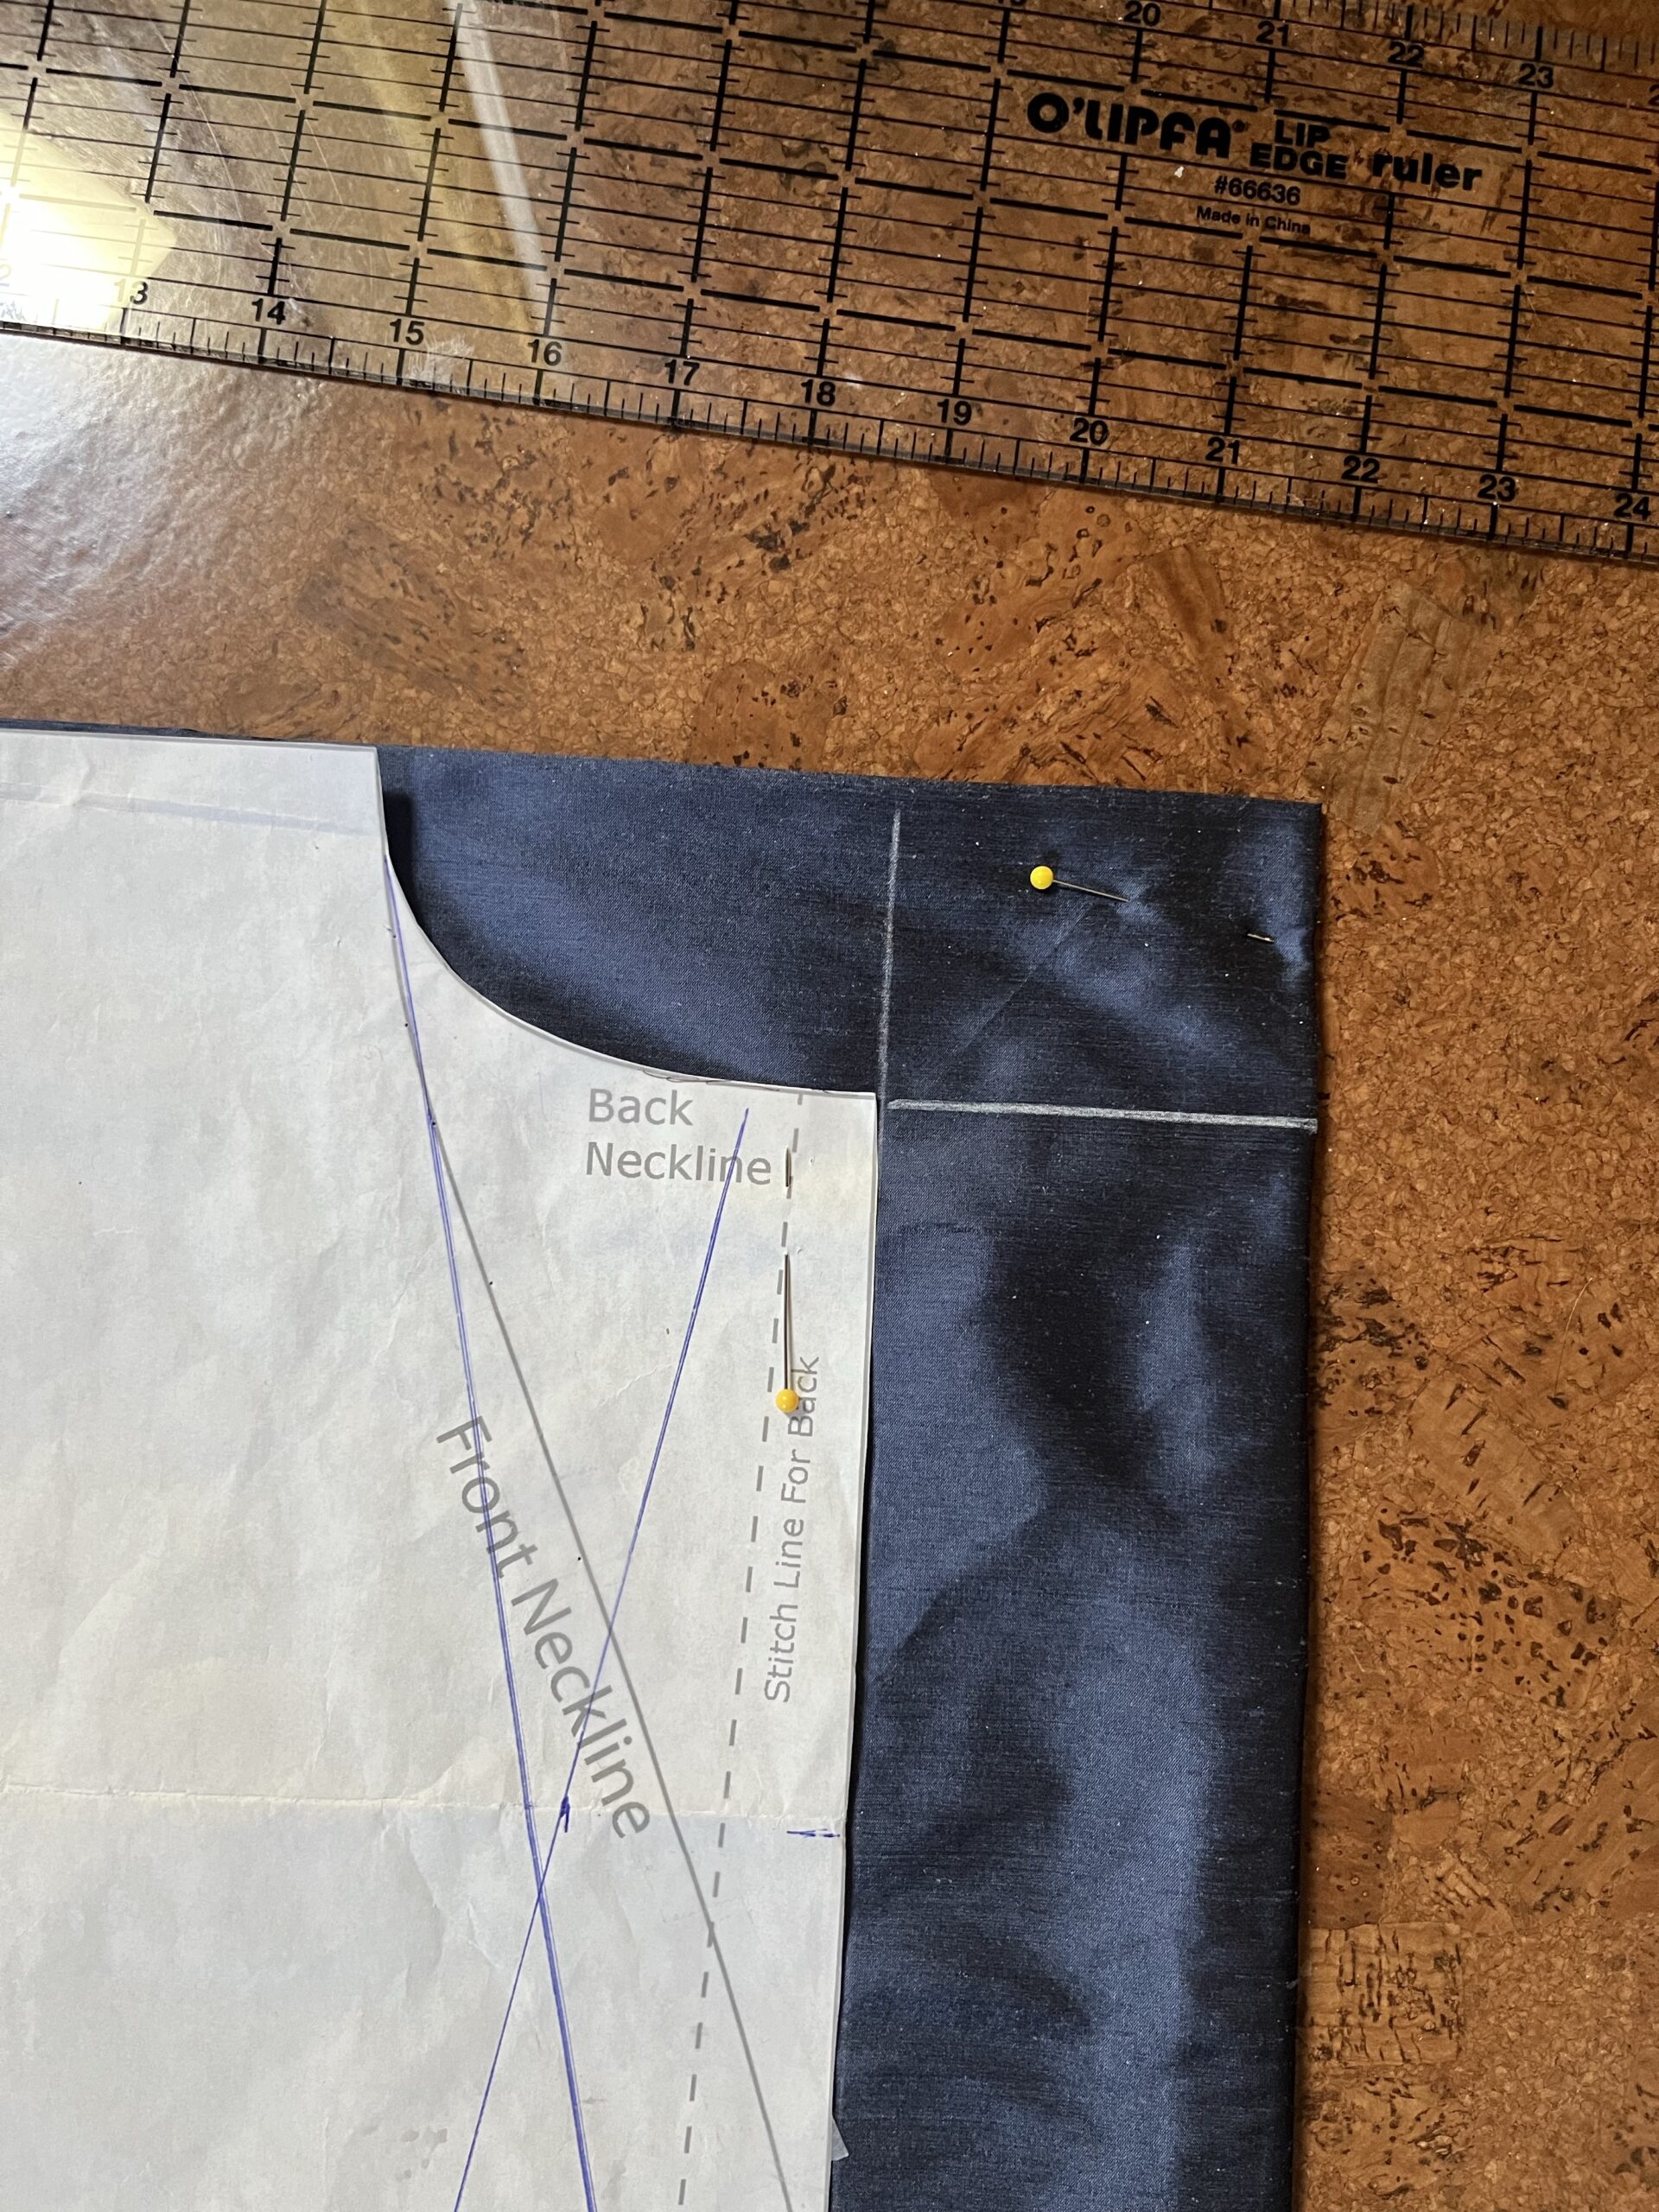
How does a Wrapping gown pattern work? As I showed when writing about my Fitting and Proper Chintz Banyan, the wrapping gown is all about geometry. You fold the fabric into quarters to cut the basic shape, unfold it into halves and cut the neck hole, then unfold completely and slice up the middle front to cut the front opening.
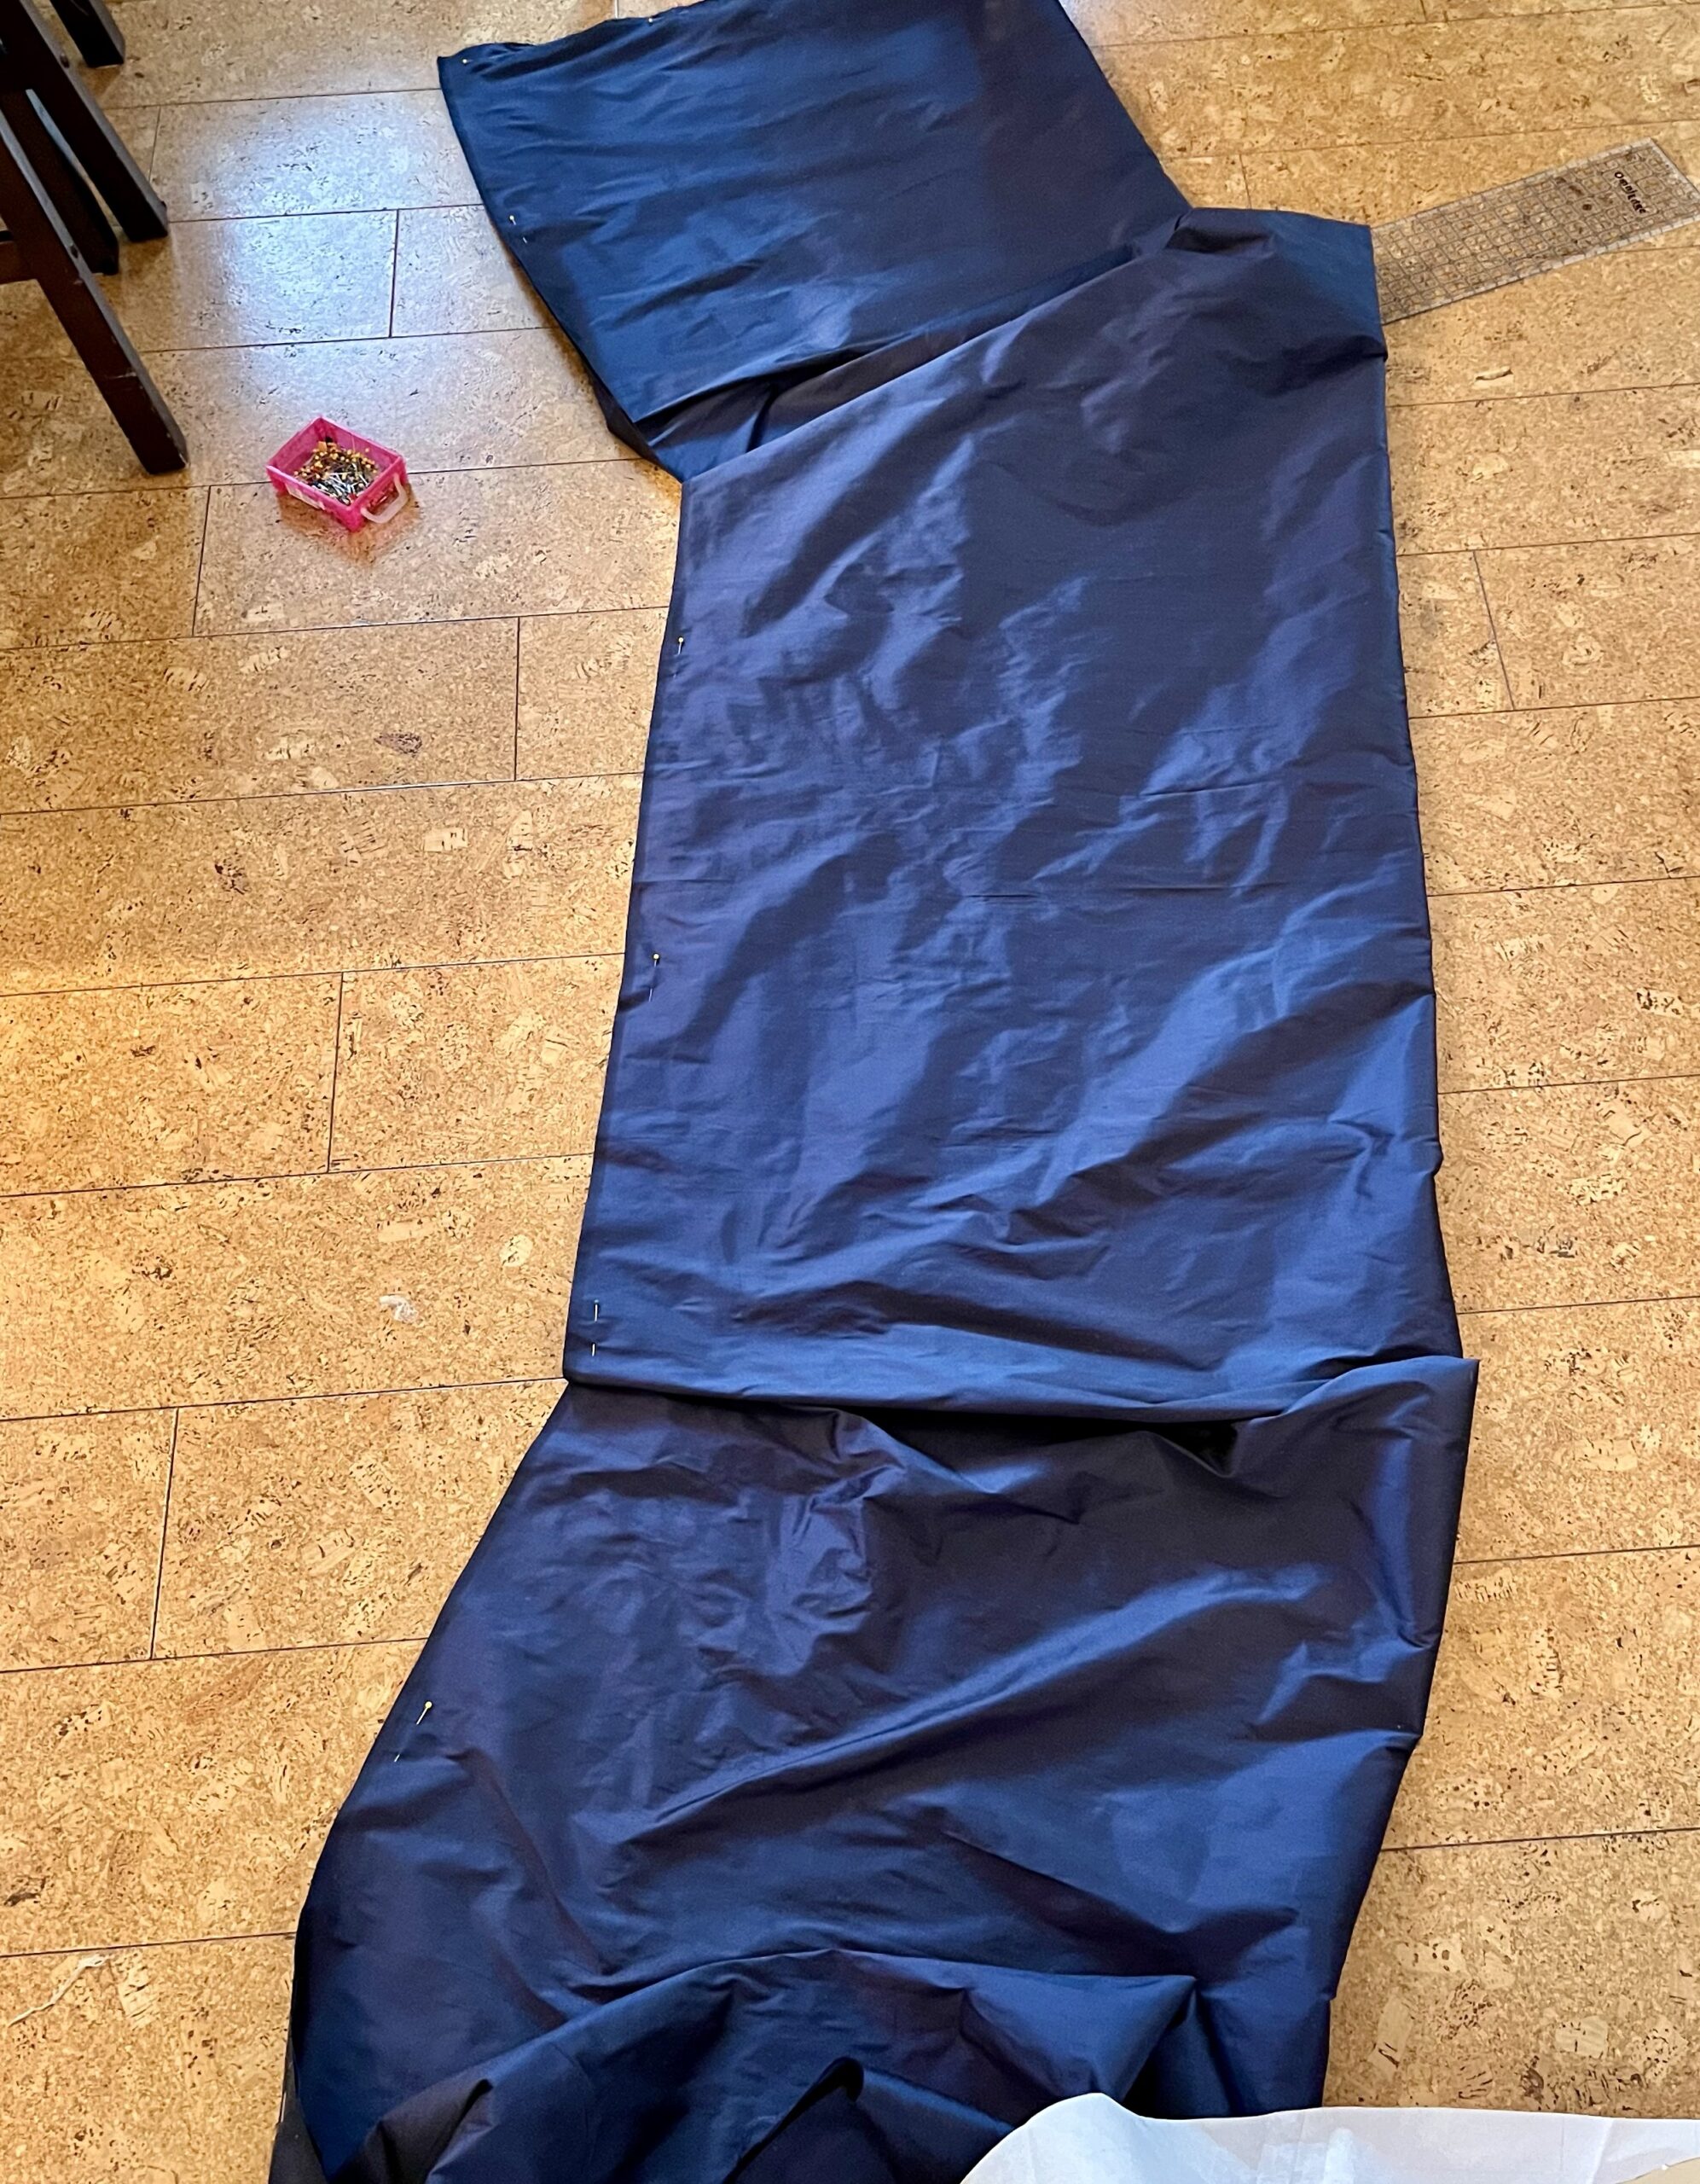
Folding the fabric for my midnight silk sultana into quarters, I laid out the pattern for my sultana, setting it in from the fabric fold to account for my extra depth, and cut outward from there.
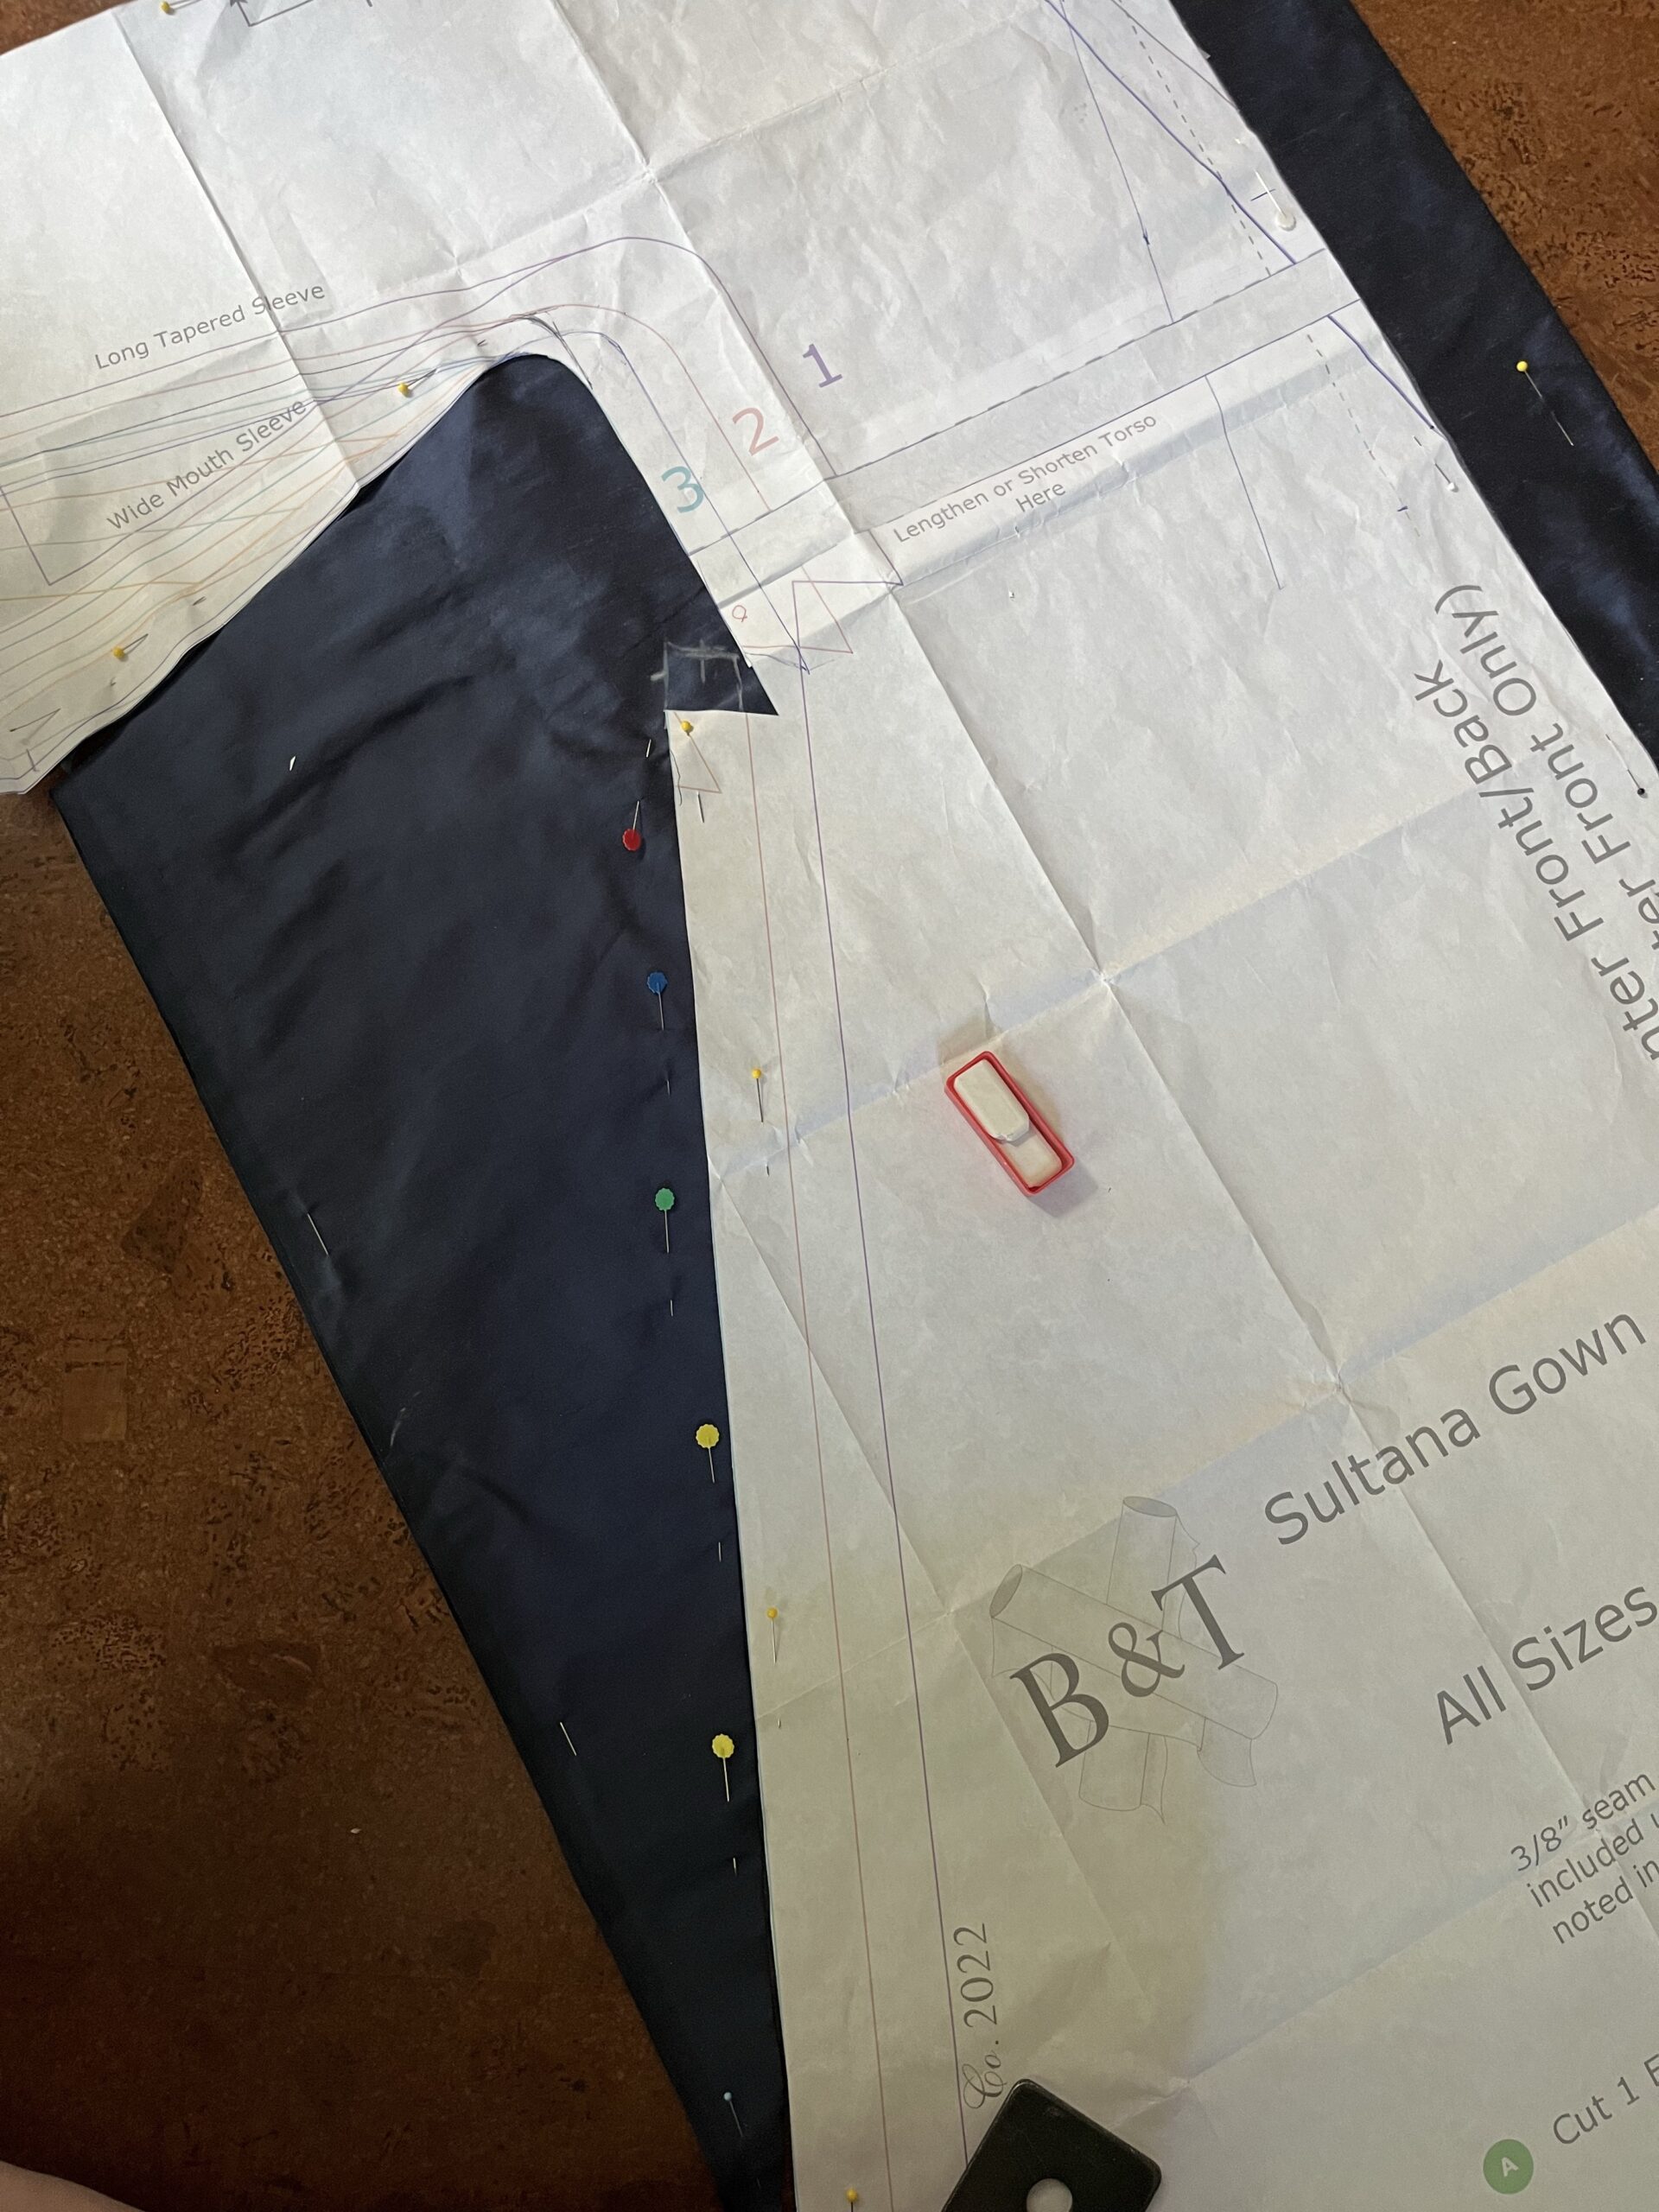
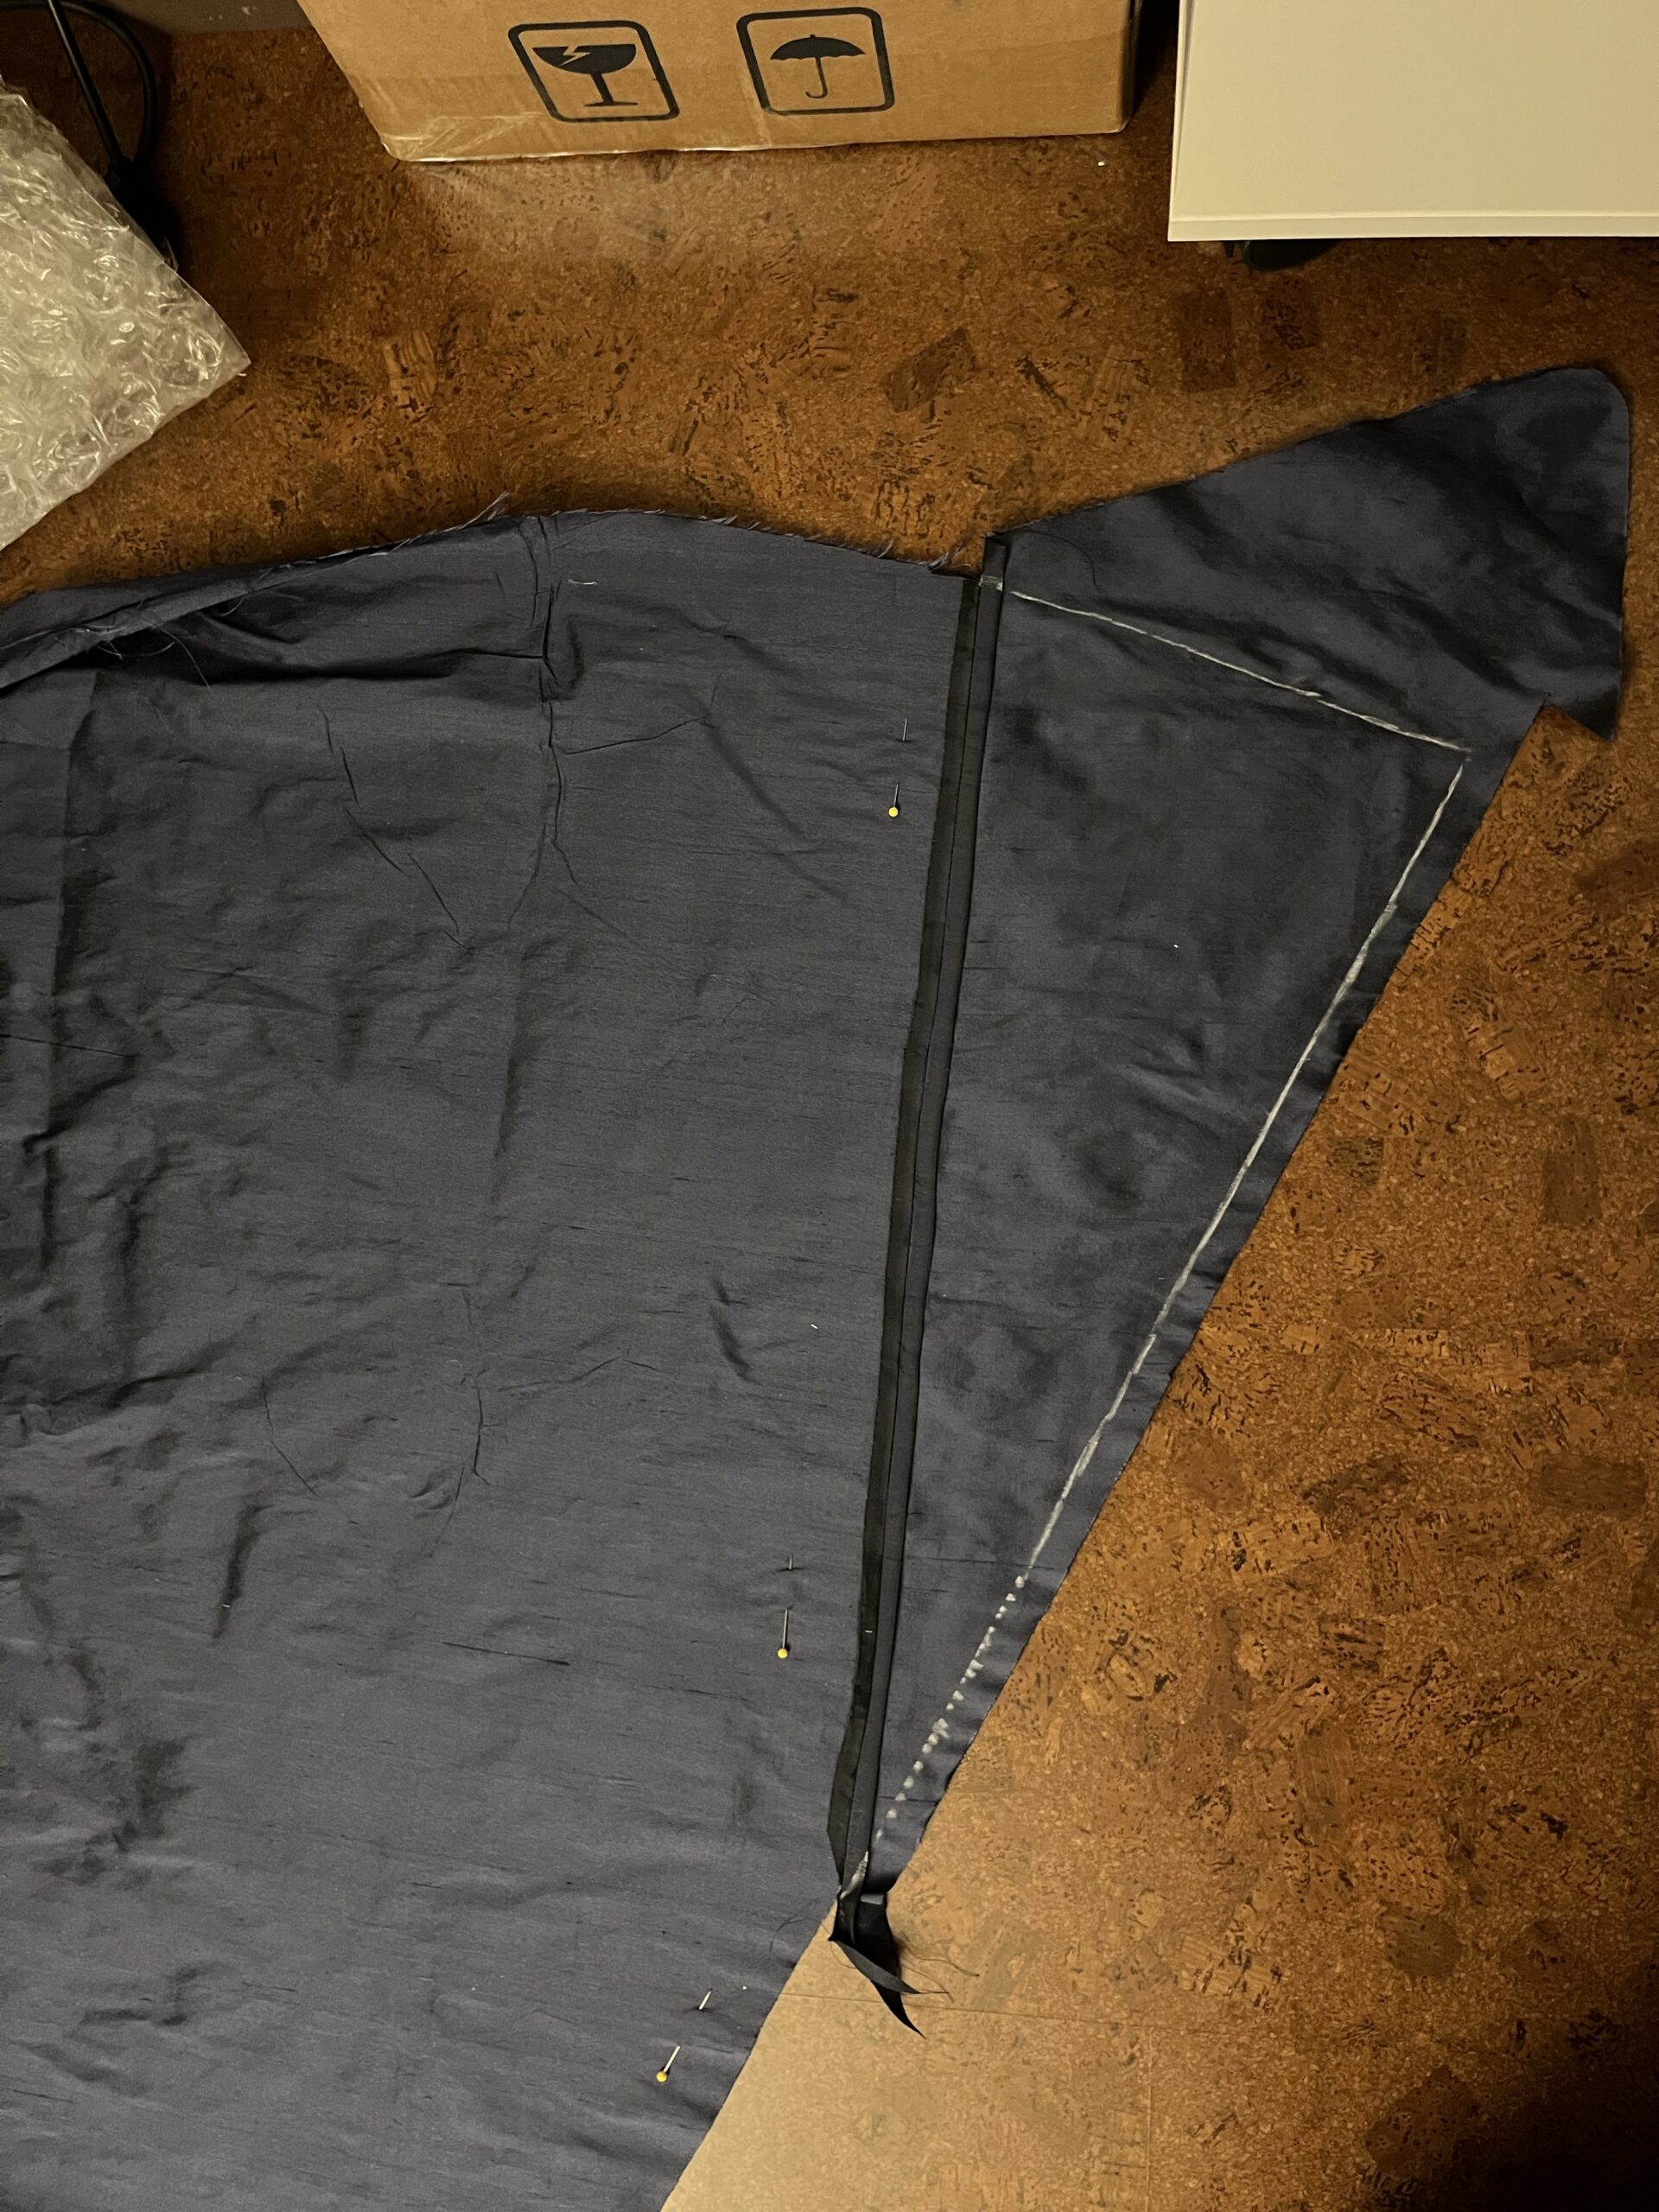
Given the width of my fabric, cutting for extra width on the torso meant that I would have to piece both the sleeves and the corners of the skirts. With the pattern laid out on the fabric, I figured out where I would need to place the piecing cutting line, and I marked the piecing line on the pattern itself. Then I drew a seam allowances on both sides of the cutting line – the inner one for the pieced part, and the outer one for the main part of the gown. Then I cut.
Unfolding the fabric from quarters to halves, I drafted in a new angle cut for the front neck opening. I wanted the neckline to cross my Center Front at the same level as on the original, so I marked that original crossing point and drew my new neckline to pass through it.

From the leftover fabric, I cut my extra skirt and sleeve pieces . Because I had marked which seam allowance line was which, I had no problem with mis-matched lengths when assembling the skirts.
The sleeves required a bit more forethought. I had very little fabric left, not enough to wrap all the way around the sleeves. Because the top of the sleeve opening would eventually be gathered up by a brooch, I did not want the bulk of a pieced seam at that gather point, so I made sure to place the longest scraps of silk I had at that point and have piecing seams further down the sleeve sides.

Sewing:
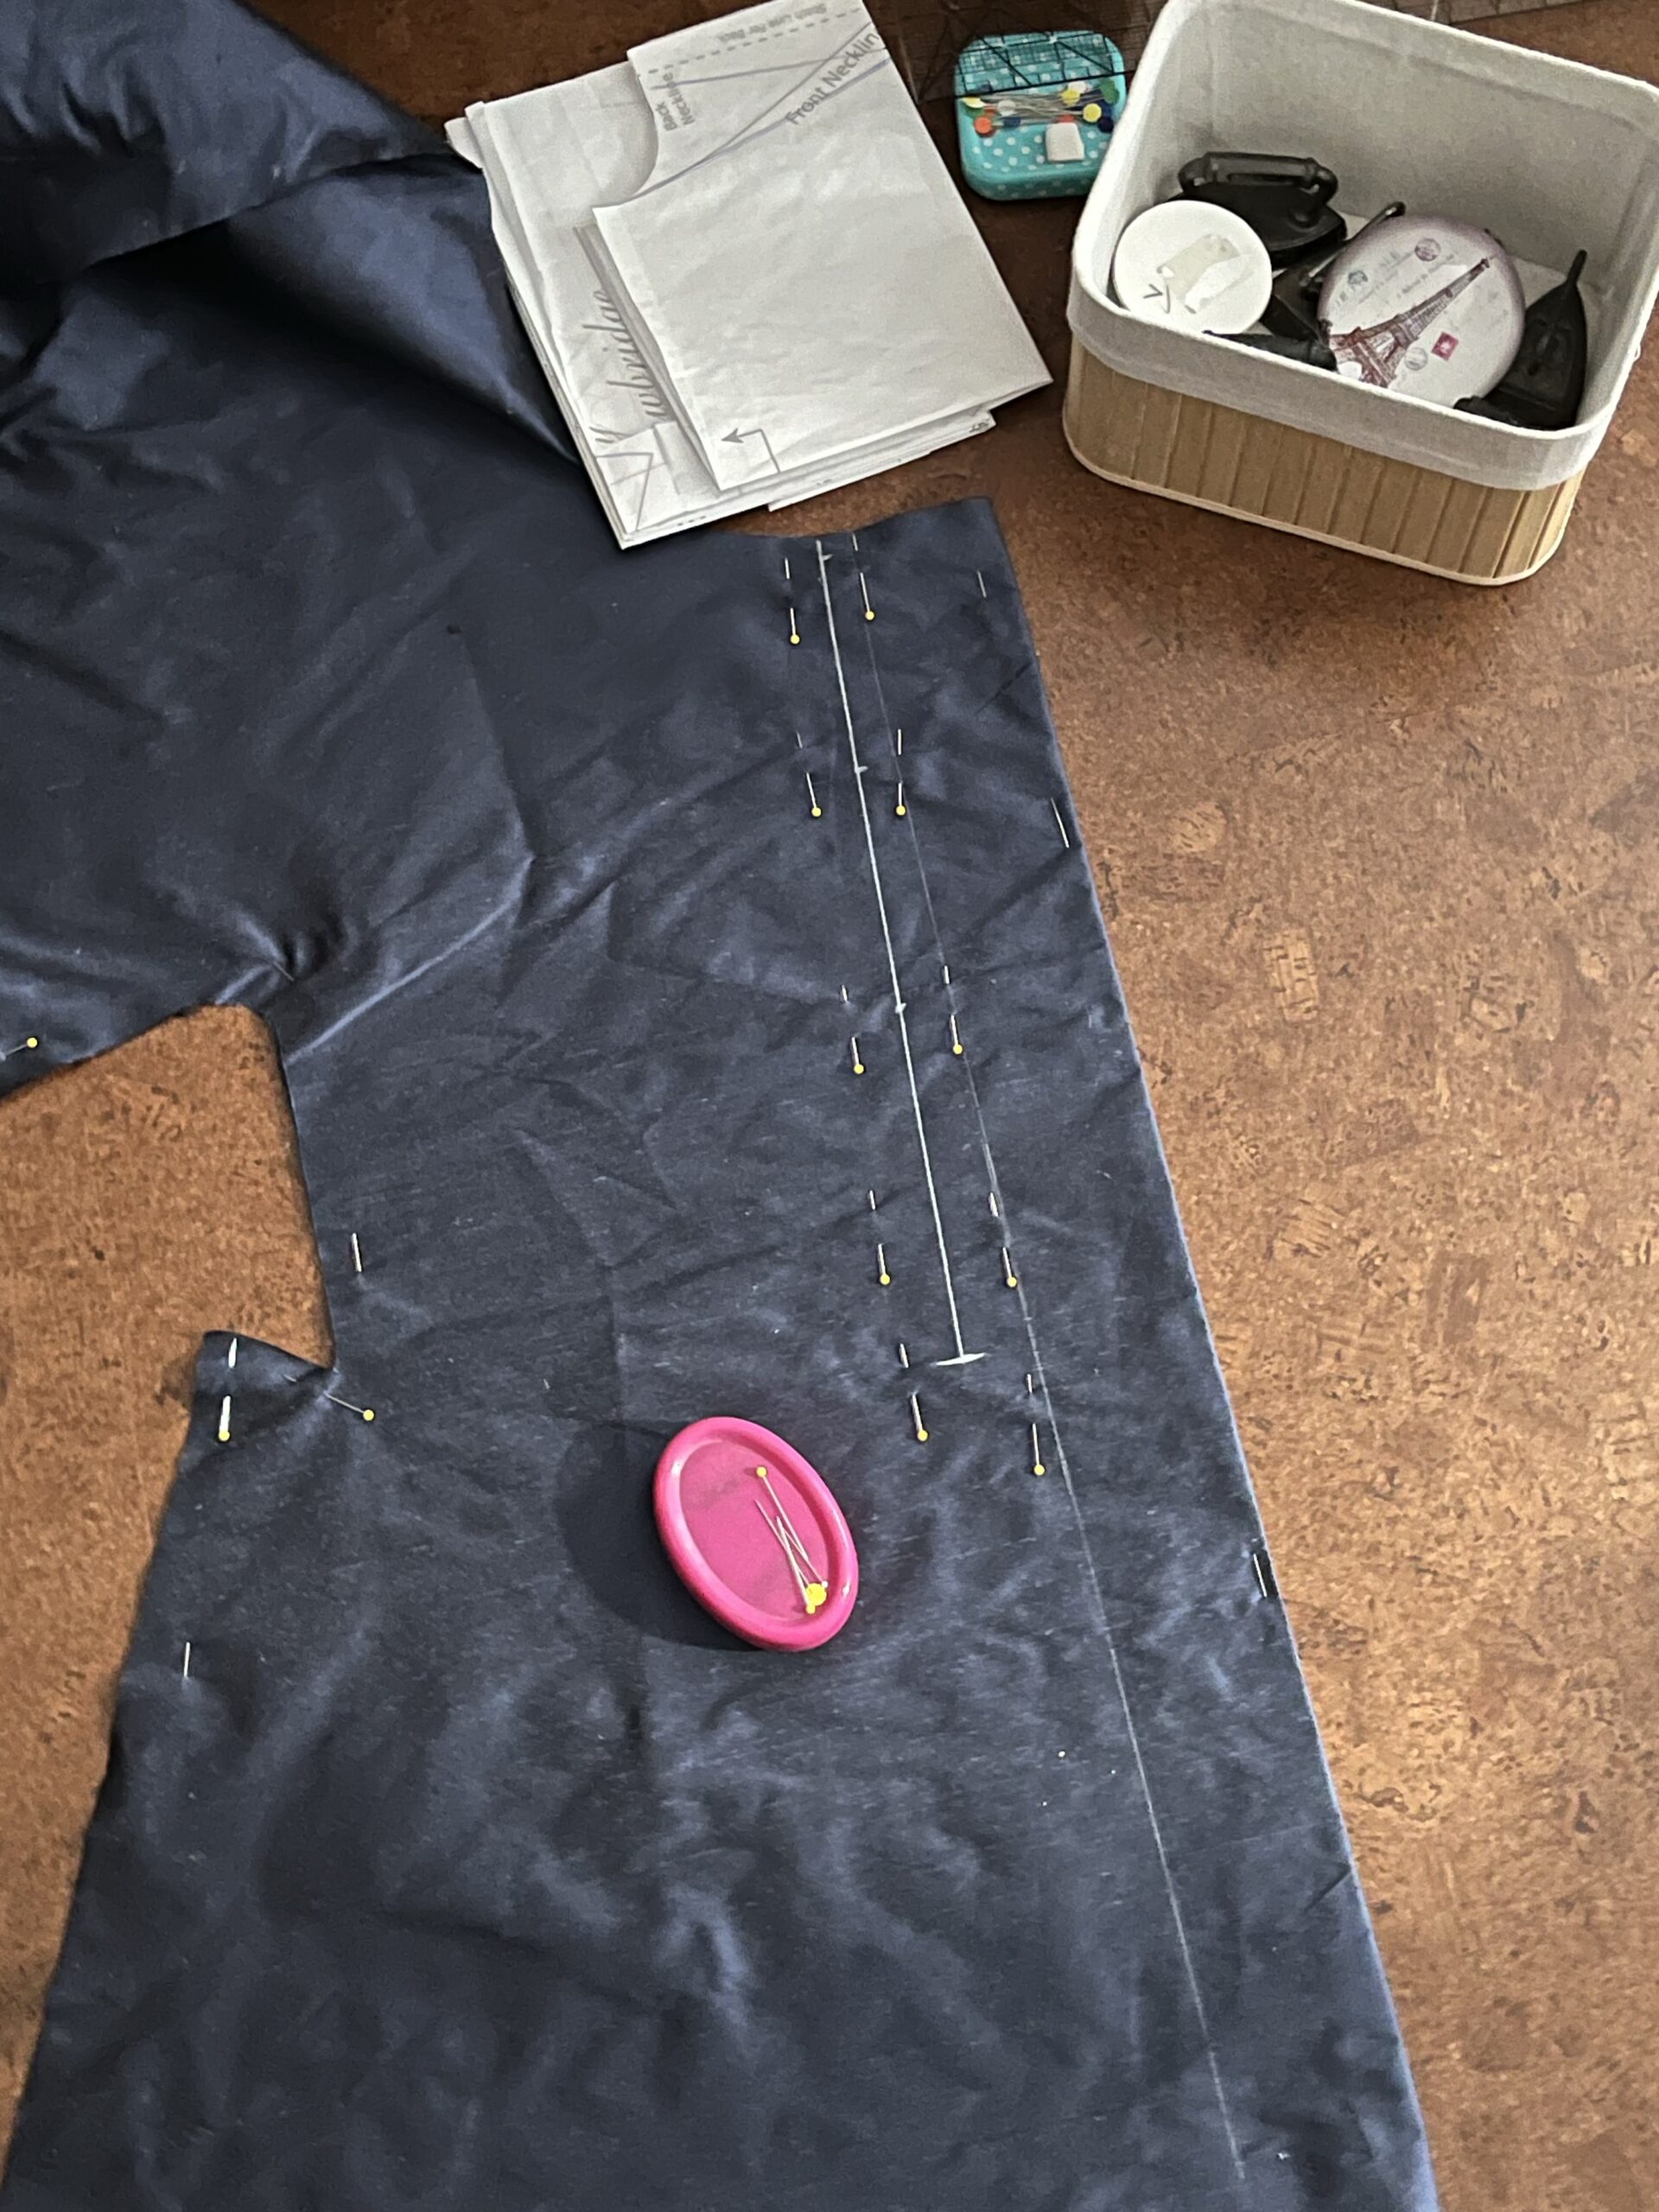
First I attached my pieced skirts and sleeve extensions.
Then I sewed the long underarm-and-skirt seams.
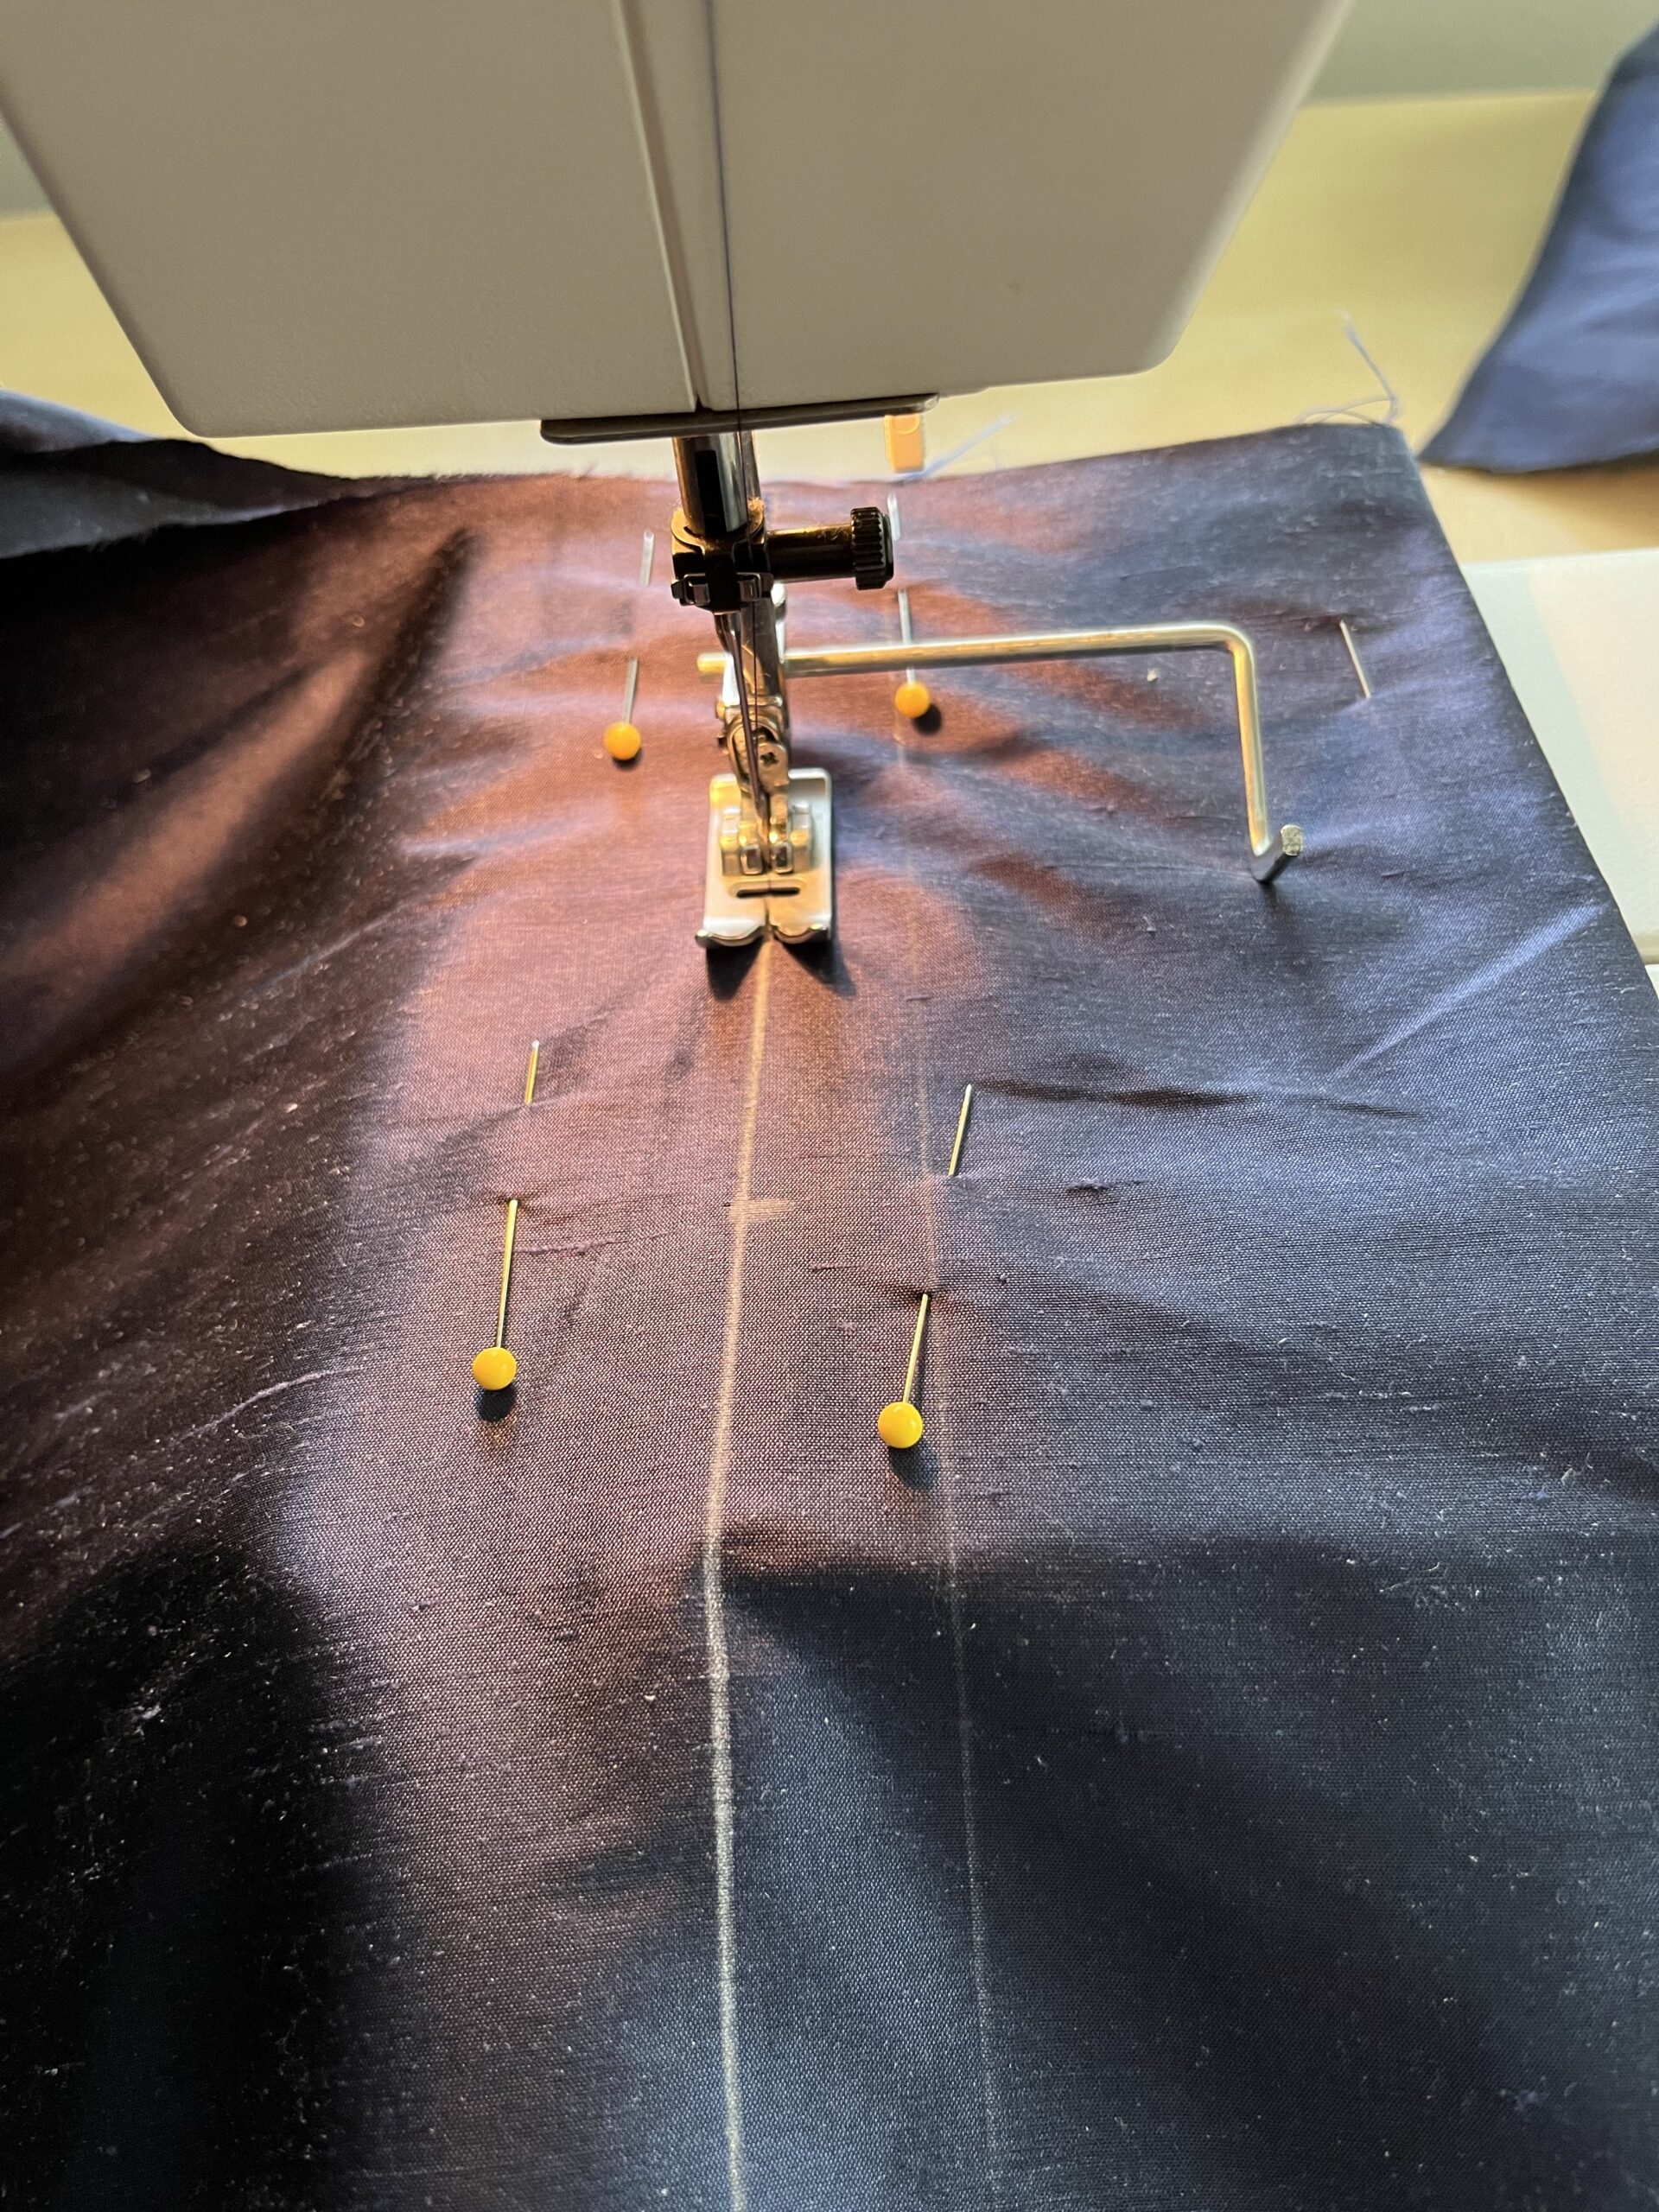
I didn’t like how pointy the sleeve openings were, so I rounded them off and cut the off the excess.

I sewed and pressed the pleat at center back, and stitched it down with spaced backstitches.

Next came lots of cozy hand sewing – felling the seams and hemming the sleeve openings, the long fronts and the bottom of the gown.
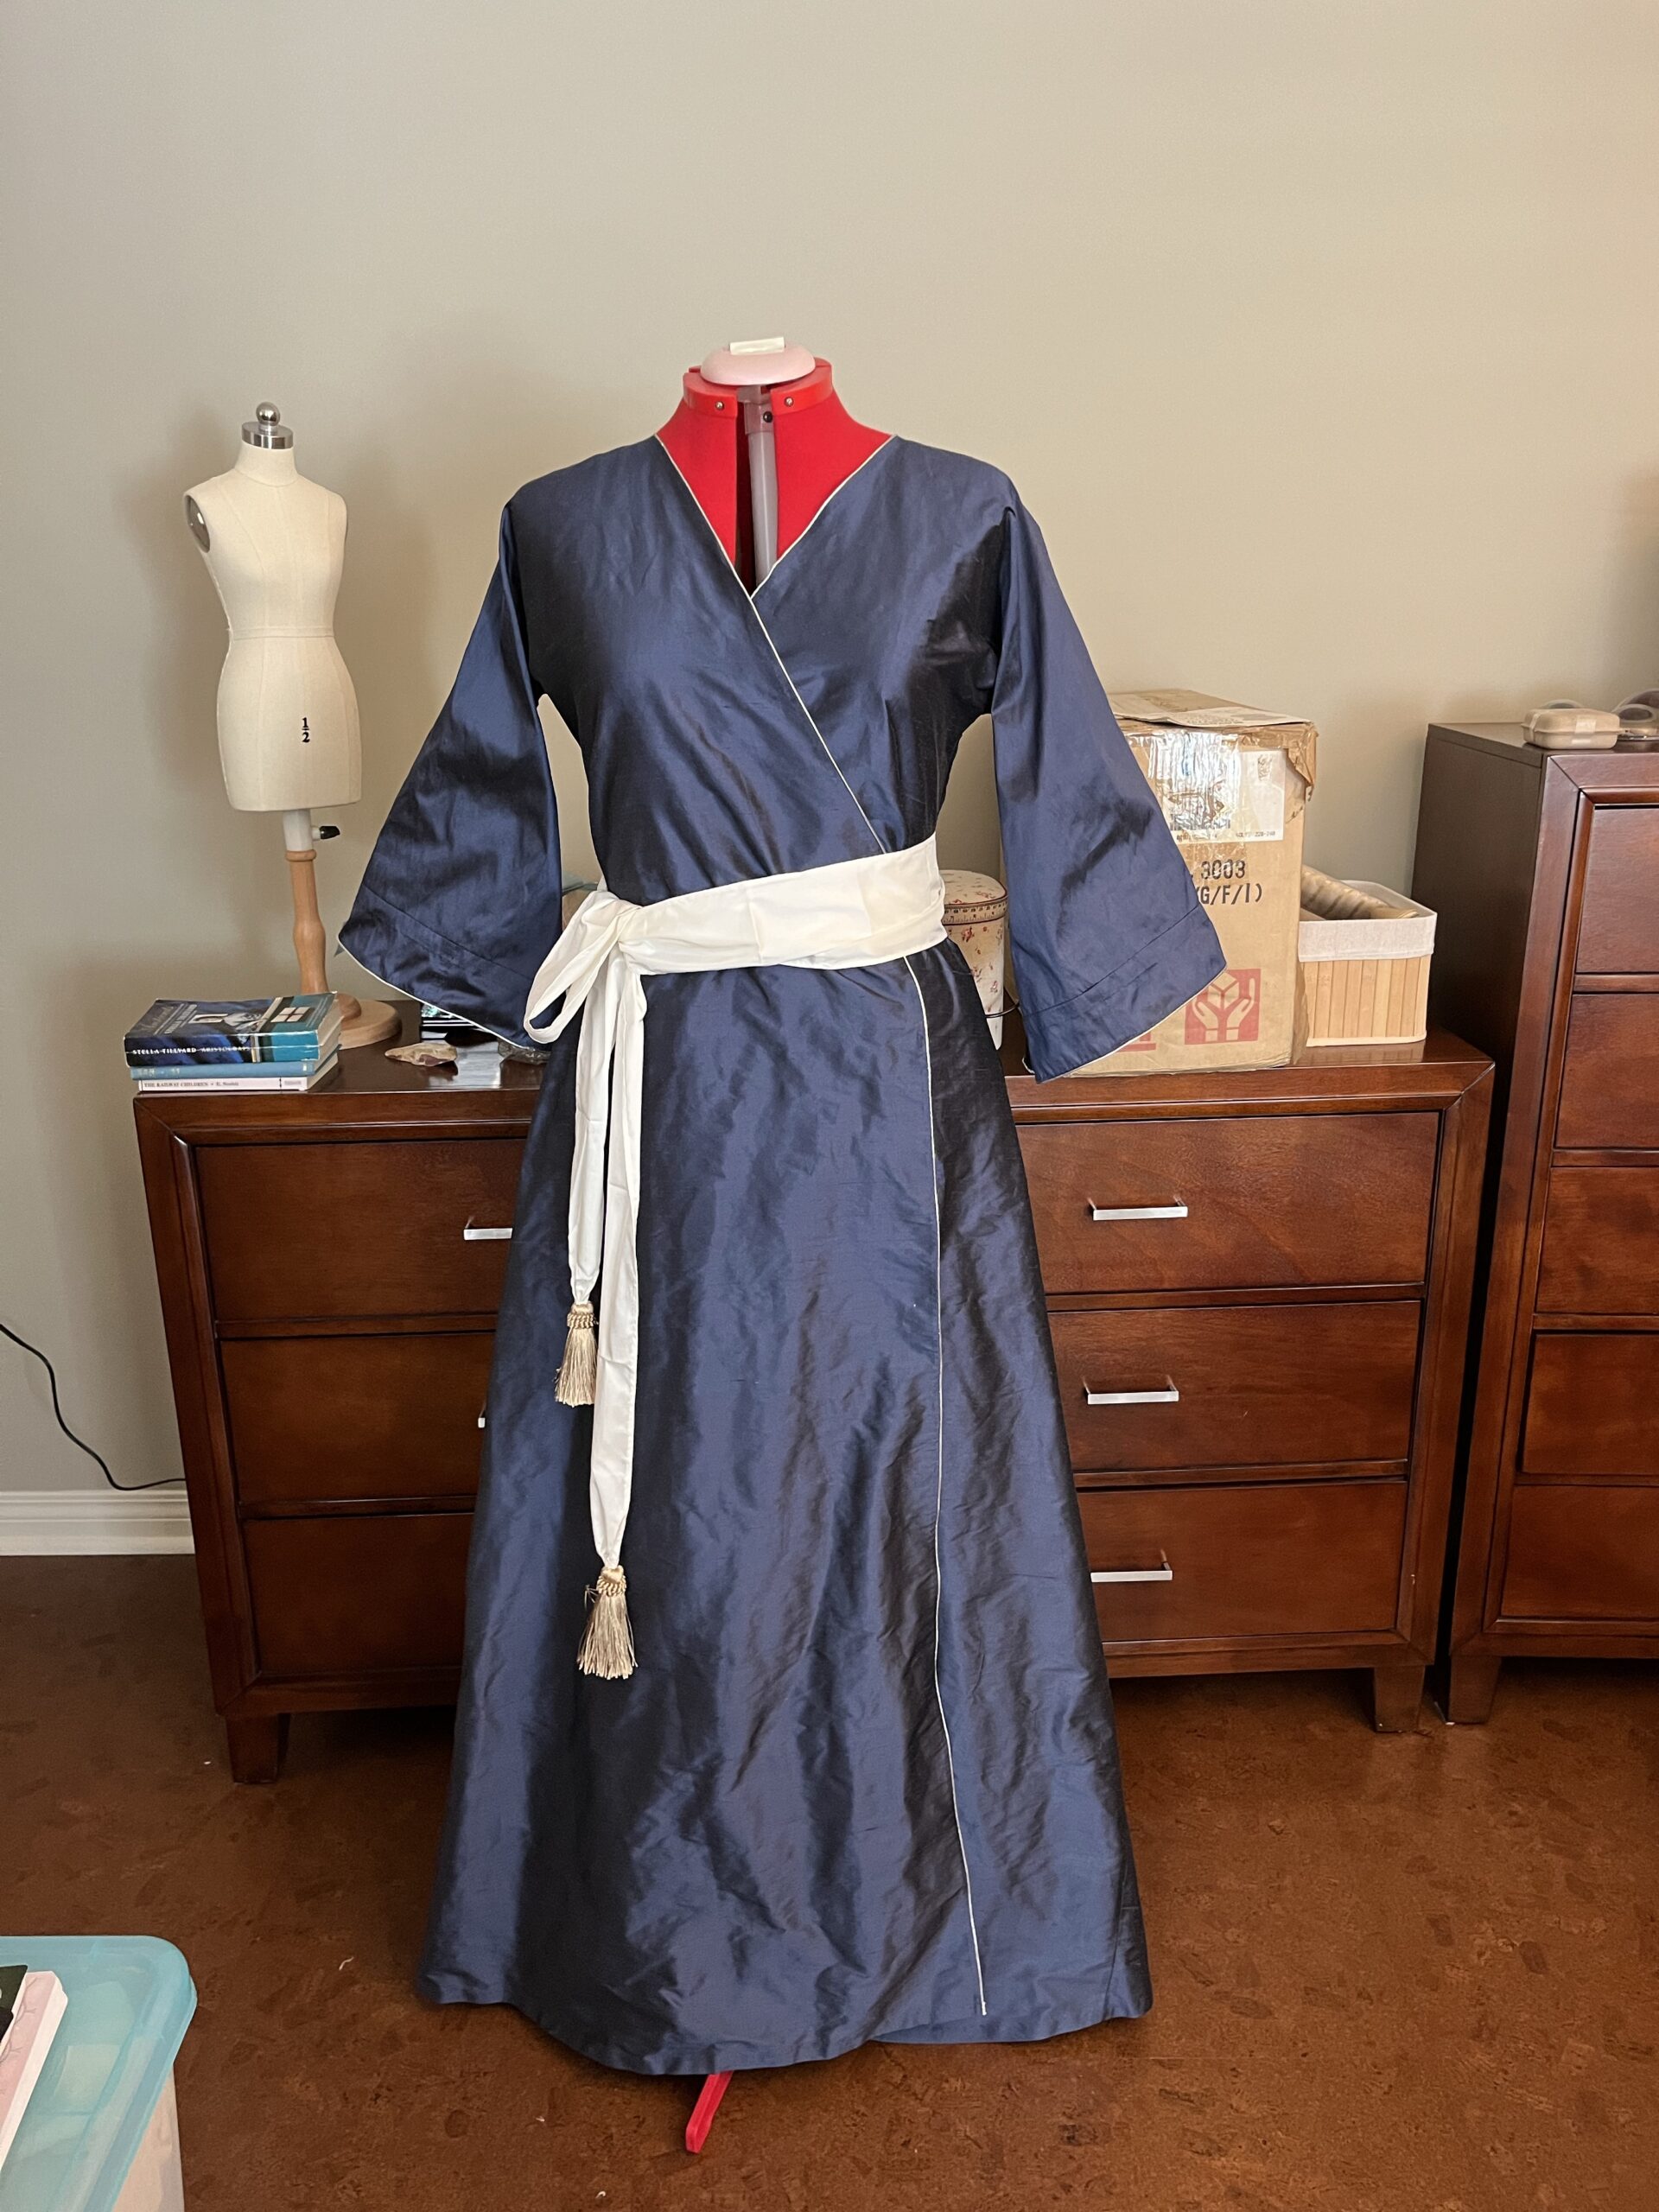
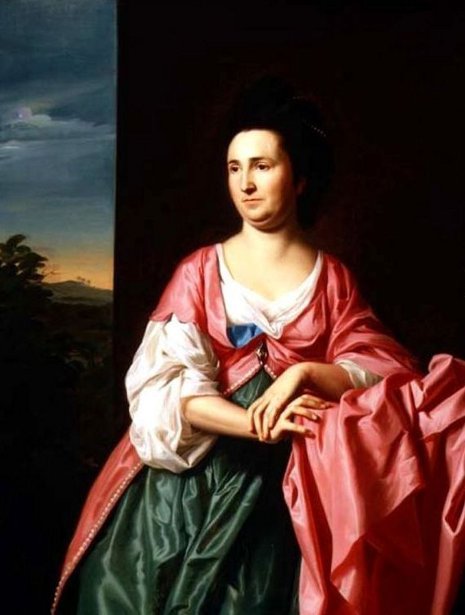
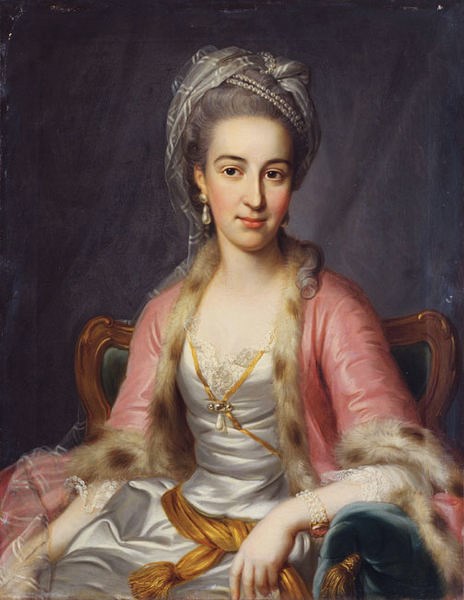
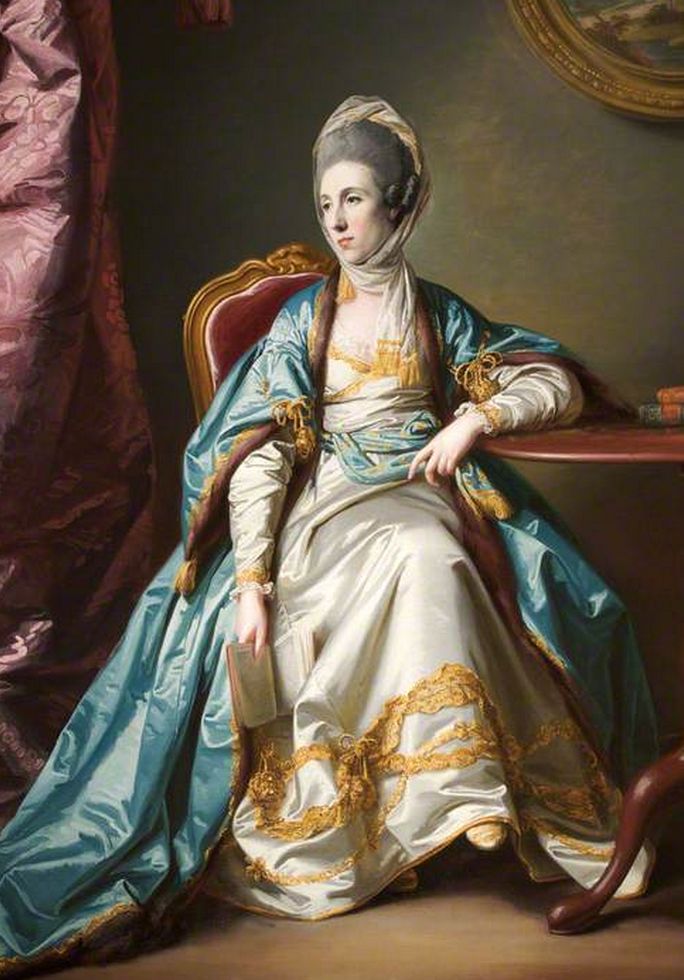
It’s not uncommon for portraits to show a contrast edging – often metallic or fur – on the openings of these Sultana gowns. There was one portrait that I particularly liked:
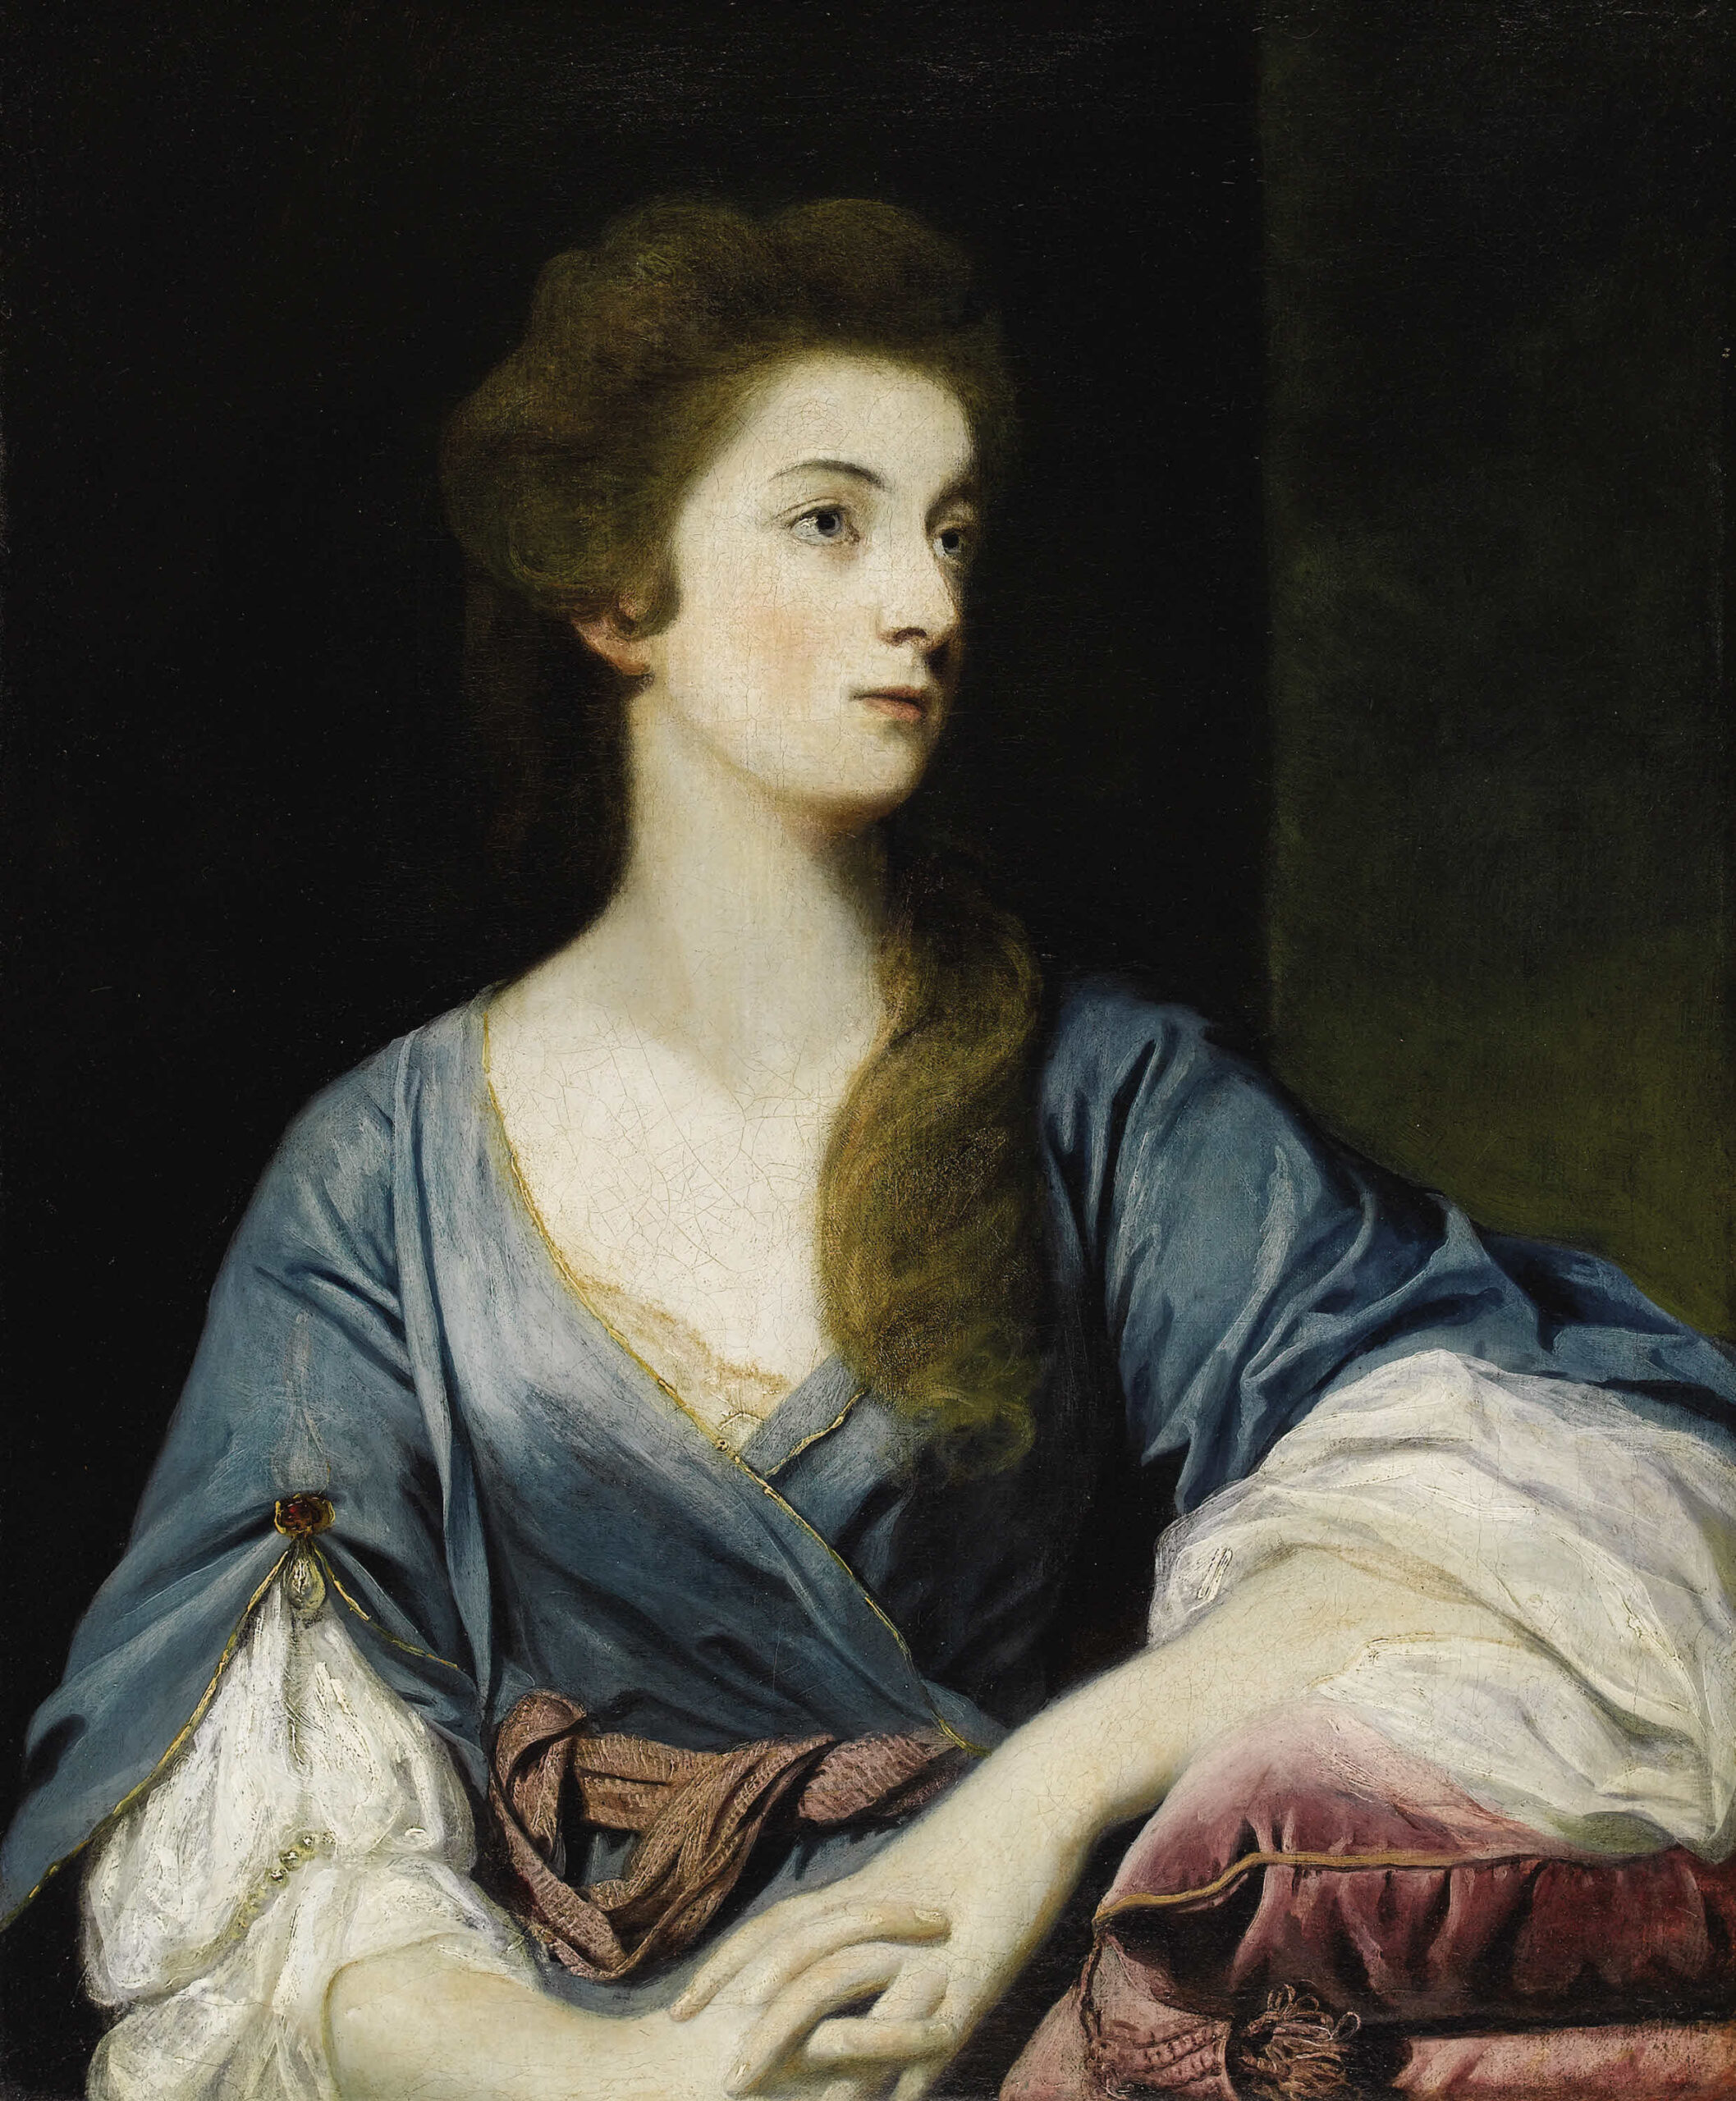
In this Joshua Reynolds portrait, Miss Greenway’s sultana shows a fine gold cord stitched around the sleeves and front opening of the gown. Given that I was already using a fairly slubby shantung for the gown body, I didn’t bother with strict HA here, and I couched a metallic polyester cord with a transparent polyester microfilament thread.
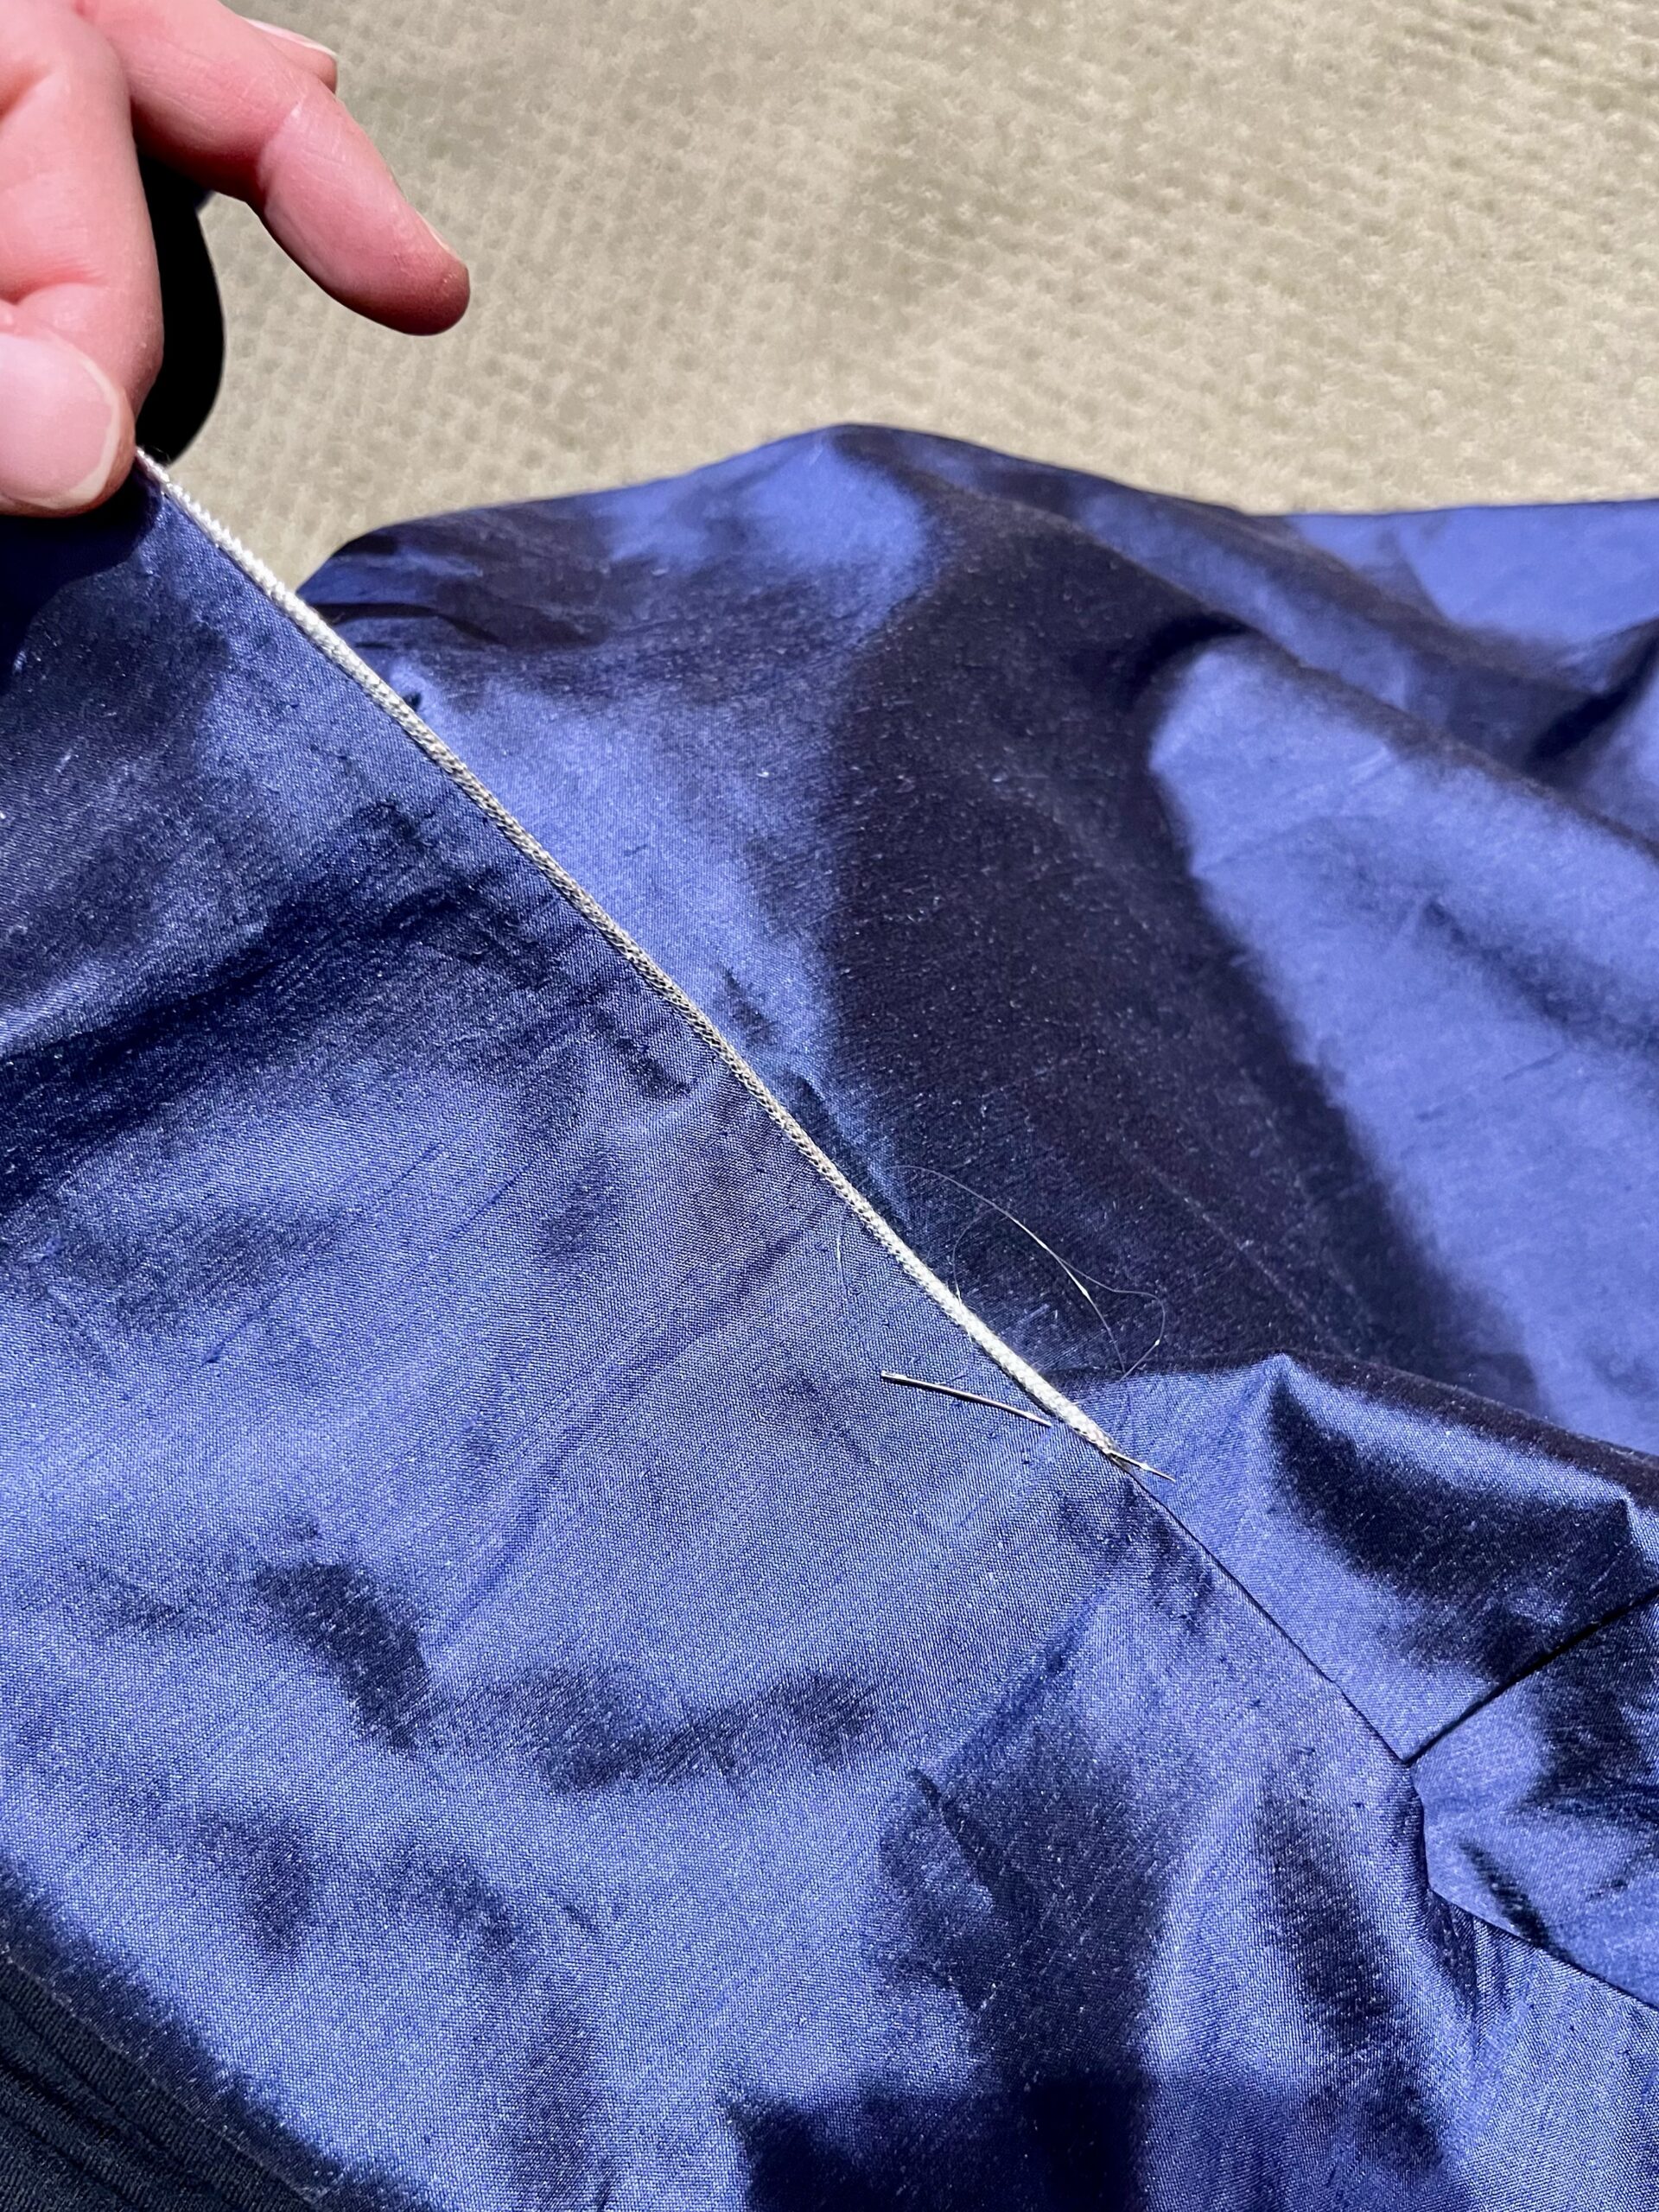
The microfilament was fiddly as hell – it’s such a fine thread that it slipped out of the eye of any needle sturdy enough to punch through the cord body. I found myself gripping it so tightly to the needle that i had to regularly stop to rest my hands and stretch out the cramping!
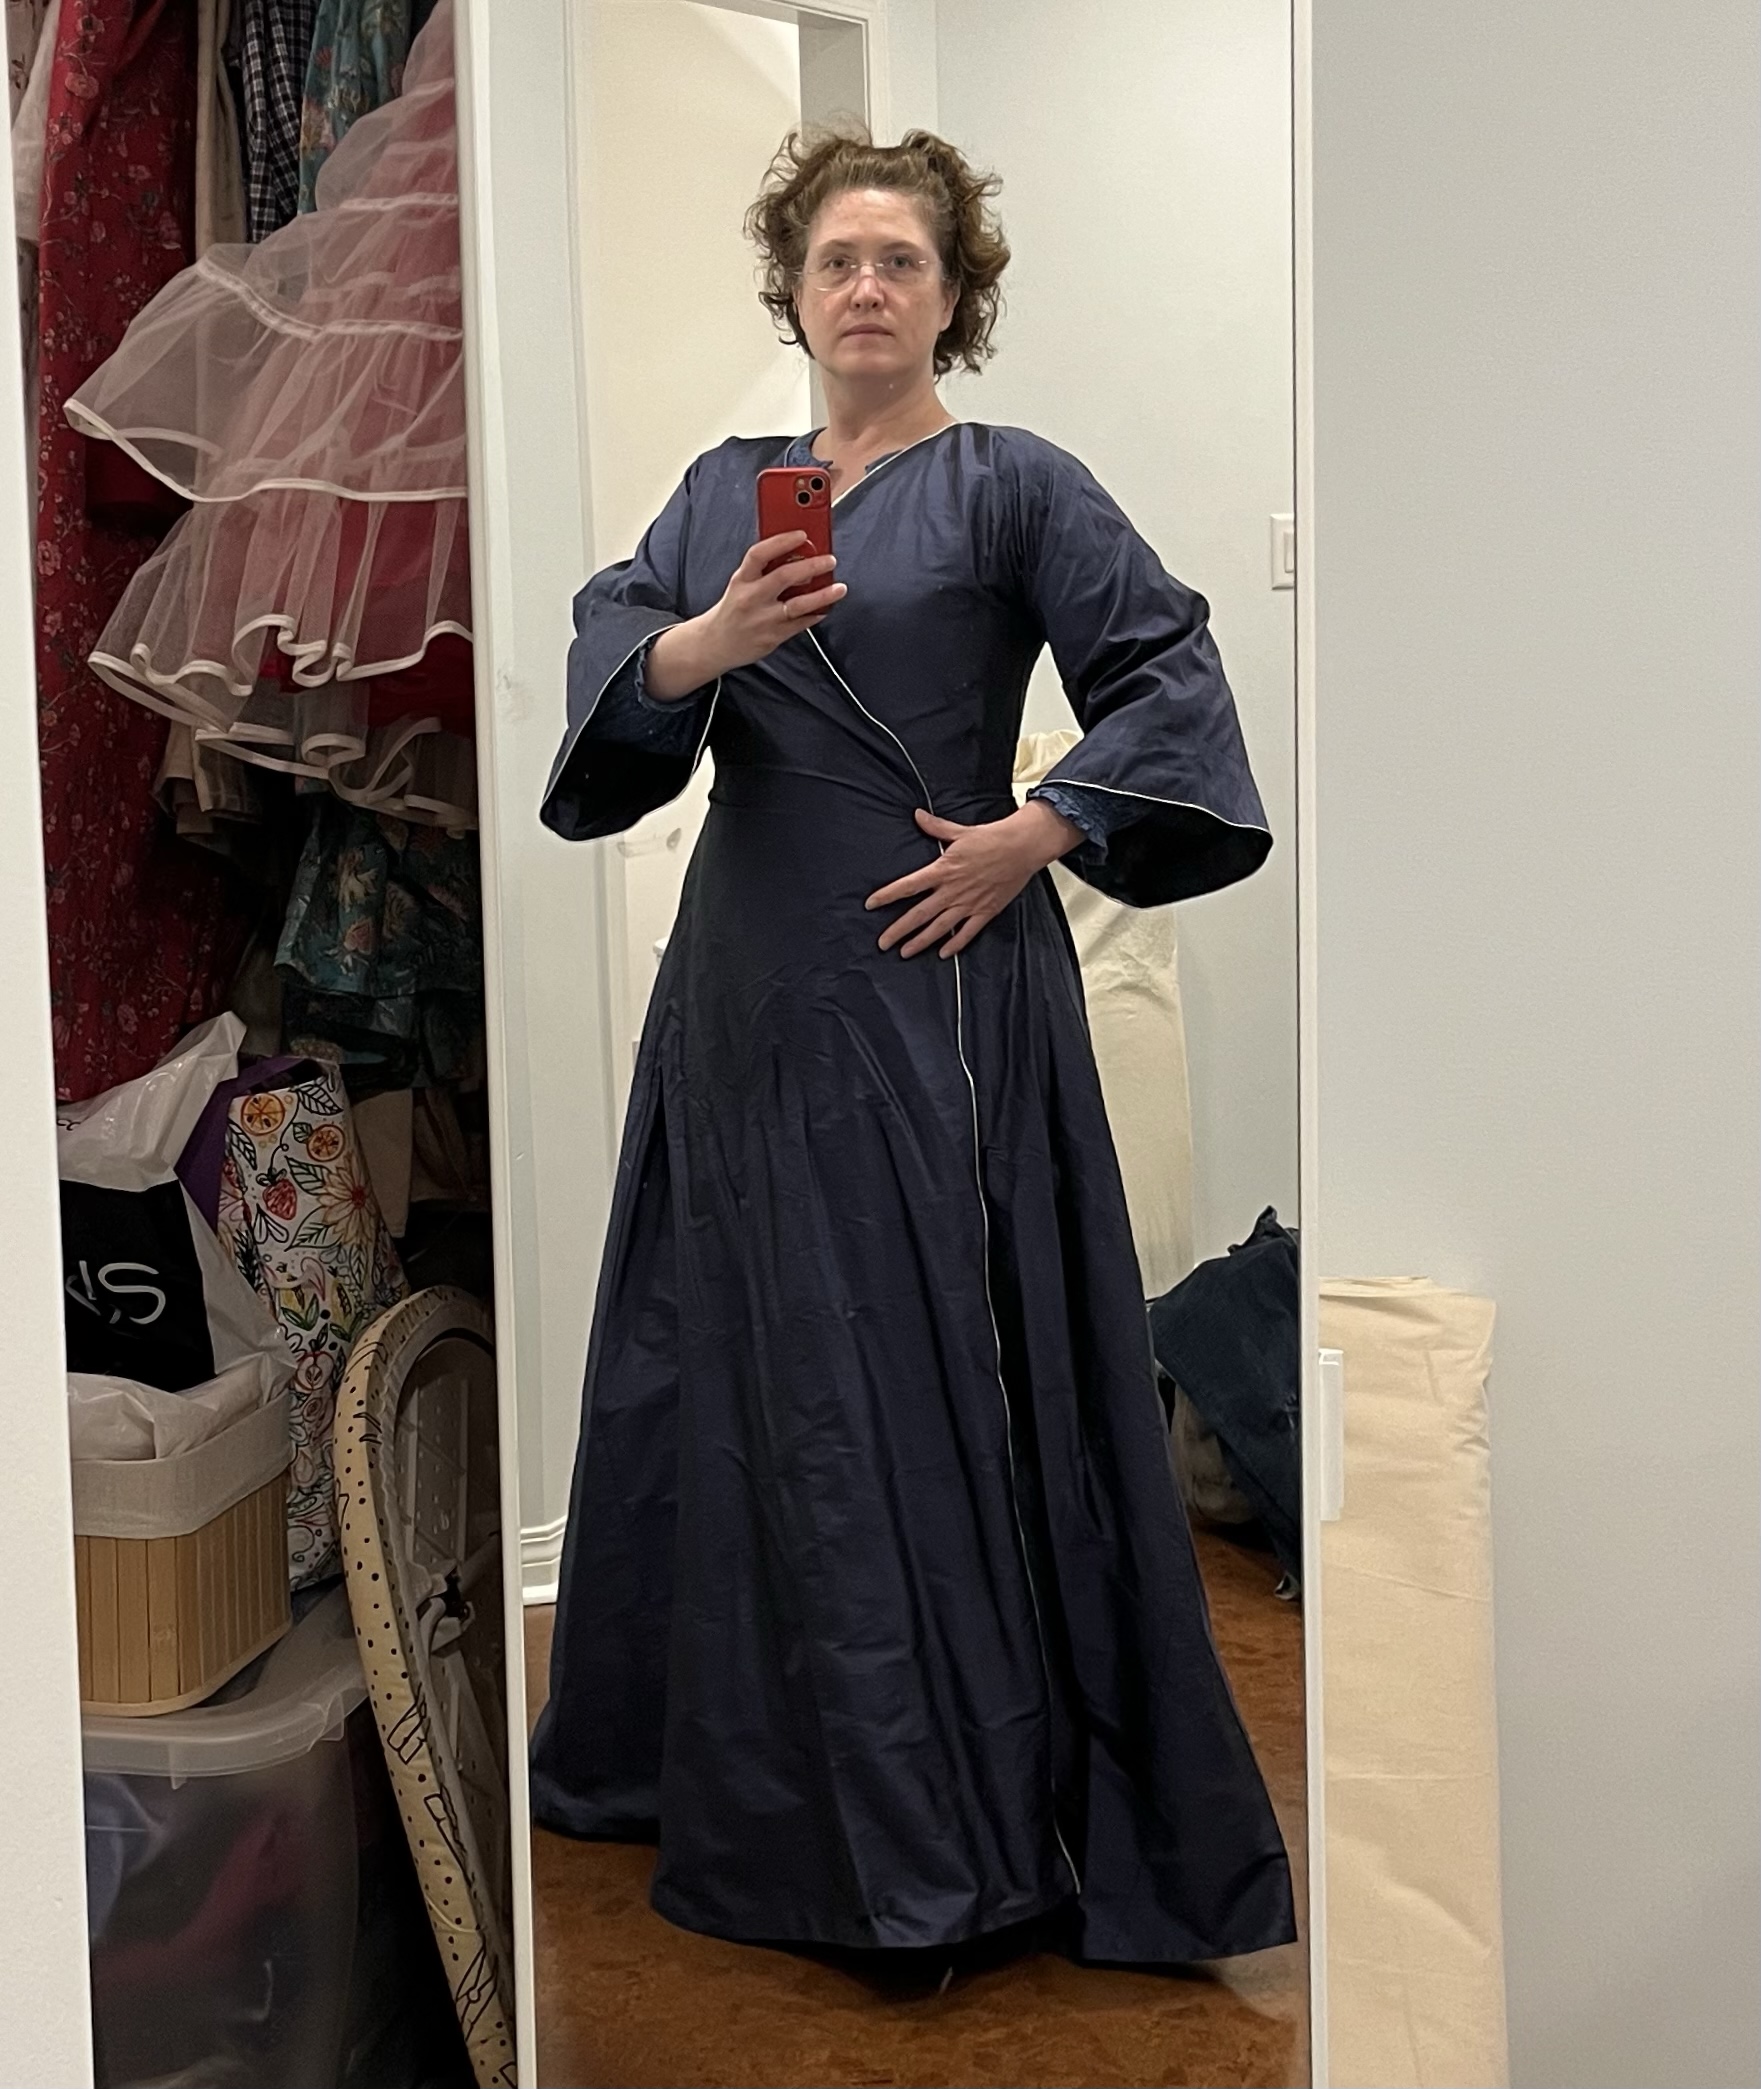
Hand cramps were a small price to pay. When the cording was complete, I had a voluptuous midnight silk sultana to play in! I’m wearing it here for a fitting without stays or petticoats- and look how much volume the skirts have already, even without any support garments beneath!

The next step will be accessories and undergarments – a linen shift with billowing sleeves of silk gauze, a few brooches, a new sash, and a lace tucker to baste into the neckline. As soon as our house renovations are complete, and i can remember where I stored my linen bin when the construction crew arrived!