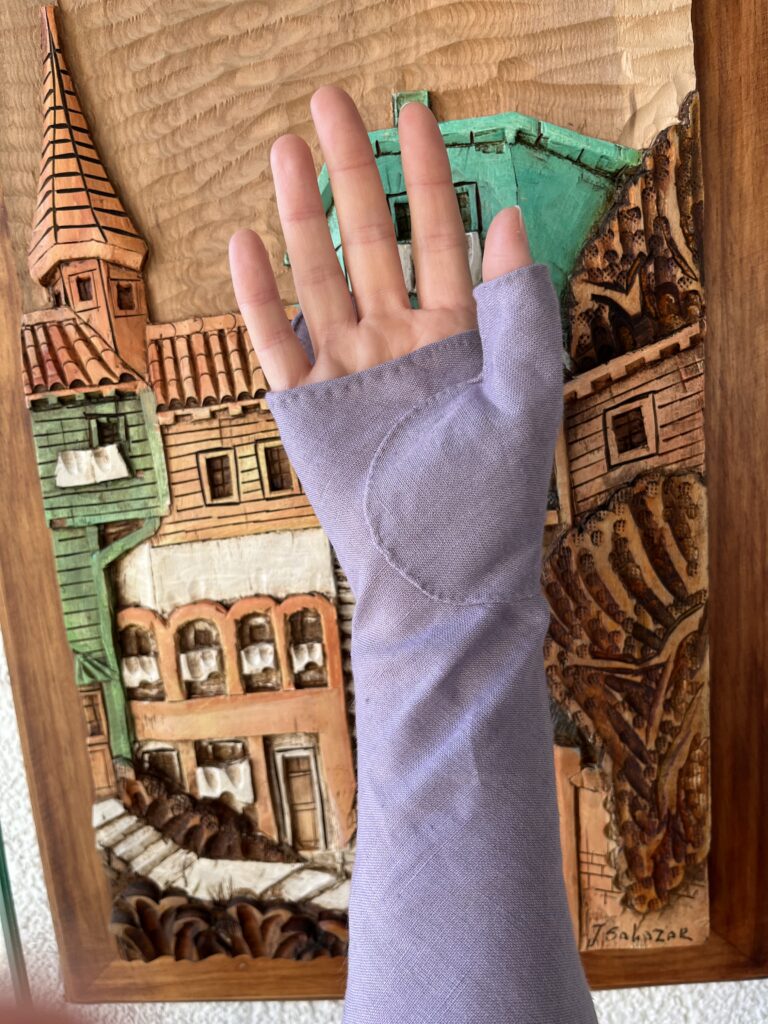
At the end of part 1 of my linen mitt adventure, I unfortunately came down with stomach flu and sewed my 18th century linen mitts to myself. Twice. Several days later, after I had recuperated from the gastro, and unpicked the mitts fabric from my pyjamas, I chastely and sedately finished embroidering the second pair. Here then, is 8th Century linen mitts Part 2: Construction
I also sewed that pair to my pyjamas as well, three times, but that is entirely incidental to this story and has no larger implications for my sewing competence. At all.
And then I cut. Linen is wicked slippery, even when starched, and I hate cutting it. Possibly that is why I chose to make a second pair of 18th century mitts, so that I would enjoy cutting at least ONE pair of ’em.

The linen napkins were very slightly too small for the pattern, so I ended up piecing the corners. Just the corners.

Entropy House has a very good description of pieced mitts – make sure you keep your seam allowances and your grain directions, and everything will be fine!
The pieced pieces were stitched and felled,

then the side seams were stitched and felled, the points were sewn, the thumb pieces were finished –

And the thumbs were attached, following the instructions on the Burnley and Trowbridge mitts sew-along video.


I hemmed the bottoms of the mitts, and then I tried my mitts on.
Clever readers will already have noticed what I had managed to completely miss until the mitts were already sewn and on my hands. I had seriously mis-positioned my mitt points.

Mitt points are supposed to be balanced over the flat of the back of the knuckles, but mine were wandering off sideways into my palm. And they were too small. And too pointy. I hated them.

I re-cut them to try and recenter the point, but it made them even pointier, and I only hated them worse./
Looking back now at the photos of the new points, they were perfectly respectable and okay, but in one of those really clever late-night sewing moments, I cut them off.

And I liked the mitts like that – pointless.

They were elegant and clean – but as I was reminded, only really appropriate that way for the mid 1790s onward, which is WHY one doesn’t make late night decisions with scissors. However, with a clean slate, I was now able to draft the points I really wanted – nice happy rounded summer points. I stitched them and I sewed them on, and I felled the seams, and I had MITTS.
Happy, lightweight summer mitts.

And

Rich, saturated Christmas mitts.

I felt mildly contented about it, actually!
