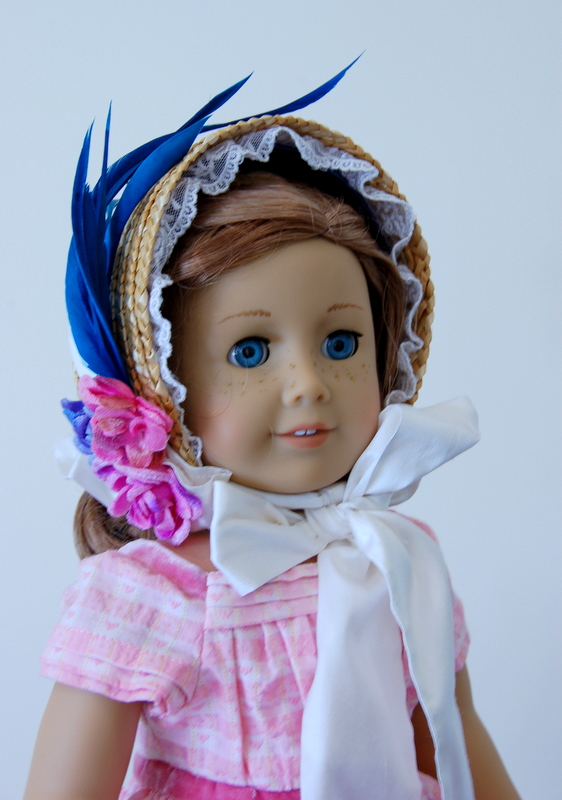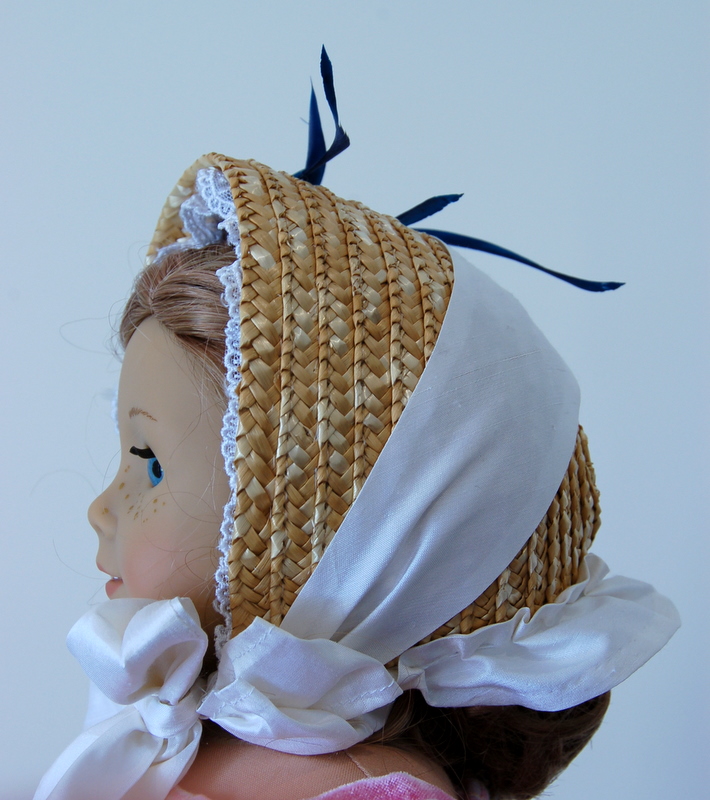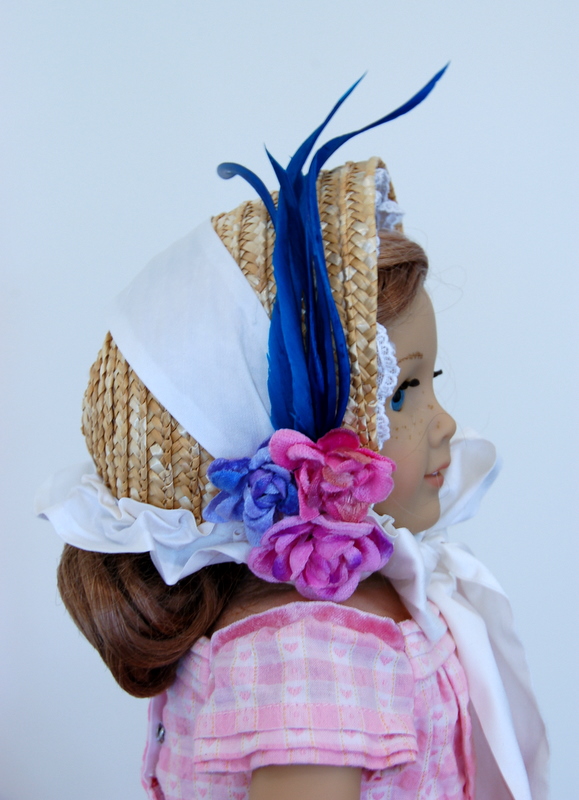
Here is a short and sweet tutorial on how to make an 1860’s doll bonnet from a craft-store straw basket:
Take one small straw basket from Lincraft. (Or Michaels. Or Spotlight. The home furnishings section of any local big-box craft store, basically.) Make sure that the head of your doll will fit into the bowl of the basket.
Slice the basket in half and bind the long raw edge with bias tape.
Line the shell with some sort of fabric to stop your doll’s hair catching on the straw and pulling out her hairstyle. Cut a rectangle a little bit longer than the the length of the edge of the ‘bonnet brim’, fold under the raw edges, and tack (or glue) the fabric into the bowl of the bonnet. Where the fabric buckles, pleat or gather it to fit.
Hurrah! Now you can trim your bonnet!
Stitch (or glue) a row of lace into the bonnet opening to frame your doll’s head.
At the back of the bonnet, attach a gathered strip of fabric to make a curtain (yes, it was really called that!)

Hem a long strip of fabric (or cut a long piece of ribbon) for the ties. The ribbon should be long enough to tie in an exuberant bow under her chin, and drape gracefully down to her mid-chest.
Now go wild with flowers and feathers and any other decorations you have in your scrap box.

Congratulations! Your straw basket bonnet is trimmed and your doll will knock all the other dolls absolutely DEAD. If you want to get more detailed, or are feeling a little more historically punctilious, Anna Worden’s blog has a marvelous series on mid-Victorian bonnets, where she breaks them down with lovely diagrams naming all the parts and showing how they were all styled!

One thought on “Short and Sweet Tutorial for a Straw Basket Bonnet”